
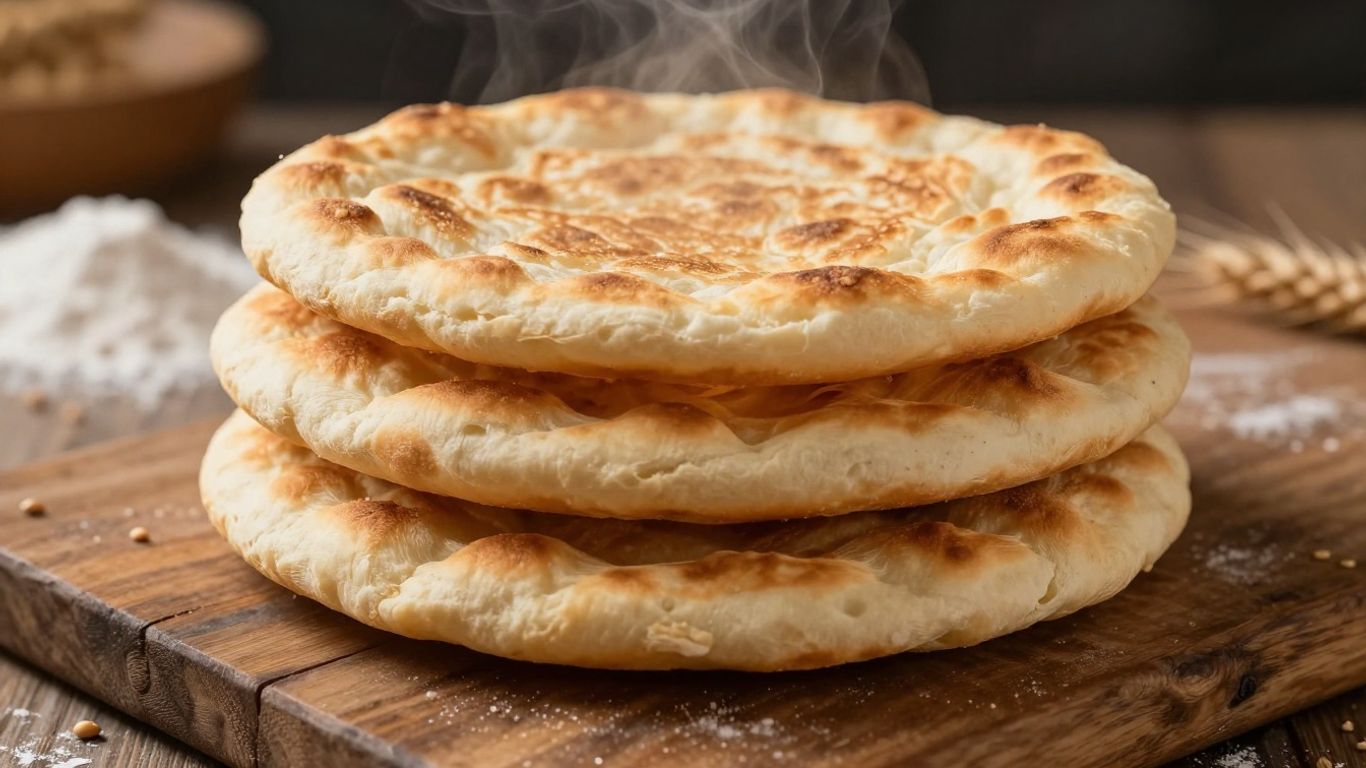
Making soft roti at home might seem a bit tricky at first, but honestly, it’s totally doable. You know, like when you see those cooking shows and think, ‘Yeah, I can do that’? Well, this is kind of like that, but way less stressful. We’re going to break down how to get those fluffy, soft flatbreads that are perfect for scooping up all your favorite dishes. Forget store-bought; homemade is where it’s at, and it’s not as hard as you might think. Let’s get started on mastering these soft roti recipes.
Key Takeaways
- Using the right kind of whole wheat flour, called atta, is important for that authentic taste and texture. Make sure it’s finely ground.
- Warm water helps make the dough soft and easy to work with, which is key for soft rotis. Knead it until it’s smooth and springs back when you poke it.
- Letting the dough rest for at least 30 minutes after kneading is a big help. It makes the dough relax, so it’s easier to roll out evenly, and that leads to better puffing when you cook it.
Achieving Perfectly Soft Roti Recipes
The Essential Ingredients for Soft Roti
Making really soft roti starts with just a few simple things. You don’t need a lot of fancy stuff, honestly. The main player is whole wheat flour, often called ‘atta’. This gives the roti its classic taste and texture. Then, you’ll need salt, just a bit, to bring out the flavors. And of course, water. The trick is using warm water; it helps the flour come together nicely and makes the dough easier to work with. Some people add oil to the dough, but I’ve found that it can actually make the rotis heavier and less likely to puff up. For me, keeping it simple with just flour, salt, and water is the way to go for that light, airy feel.
Here’s a quick rundown:
- Whole Wheat Flour (Atta): The foundation of your roti.
- Salt: Just a pinch to make everything taste better.
- Warm Water: The binder that brings it all together.
The magic of soft roti isn’t about complicated ingredients, but about how you treat the ones you have. Getting the water temperature just right and adding it gradually makes a huge difference in how the dough feels and behaves.
Key Tools for Roti Making
To get started with making your own soft rotis, you don’t need a professional kitchen. A good mixing bowl or even the bowl of a stand mixer will do for bringing the dough together. You’ll definitely need a rolling pin and a flat surface to roll out the dough evenly. The cooking part is done on a flat pan, often called a ‘tawa’. A cast-iron skillet works great, but a good non-stick pan is fine too. You’ll also want something to flip the rotis with, like tongs or a spatula. Having these basic items makes the whole process much smoother.
| Tool | Purpose |
|---|---|
| Mixing Bowl | To combine and knead the dough. |
| Rolling Pin | For rolling dough into thin, even circles. |
| Flat Pan (Tawa) | To cook the rotis on medium-high heat. |
| Tongs/Spatula | For flipping the roti during cooking. |
Mastering the Roti Making Process
Alright, so you’ve got your ingredients and tools ready. Now comes the fun part: actually making the roti! It might seem a little intimidating at first, but trust me, once you get the hang of it, it’s pretty straightforward. The key is in how you handle the dough and how you cook it.
Kneading and Resting the Dough for Optimal Texture
This is where the magic really starts. Getting the dough right is half the battle for soft, fluffy rotis. You want a dough that’s soft and pliable, not too sticky and definitely not too stiff.
Here’s a breakdown of what to aim for:
- Mixing: Start by combining your whole wheat flour and salt in a bowl. Gradually add warm water, mixing until a shaggy dough forms. Don’t dump all the water in at once; you can always add more if it’s too dry, but it’s harder to fix a sticky mess.
- Kneading: This is super important. If you’re using a stand mixer, a couple of minutes on a medium-low speed should do it. If you’re going old-school with your hands, aim for about 8 minutes on a lightly floured surface. You’re looking for a smooth, elastic ball. The dough should spring back slowly when you poke it. If it springs back too fast, it needs more kneading. If the indentation stays, it’s probably been kneaded enough.
- Resting: Once your dough is perfectly kneaded, cover it with a damp cloth and let it rest. At least 30 minutes is good, but if you have an hour or two, even better. This resting period lets the gluten relax, which makes the dough easier to roll out and helps it puff up nicely when cooking.
Don’t skip the resting part! It really makes a difference in how soft and easy to handle your dough becomes. It’s like letting a tense muscle relax before a workout.
Techniques for Rolling and Cooking Soft Roti
Now that your dough is rested and ready, it’s time to roll and cook. This is where you’ll see your efforts pay off.
- Divide and Shape: Take your rested dough and divide it into equal portions. Roll each portion into a smooth ball. This ensures each roti will be roughly the same size and thickness.
- Rolling: On a lightly floured surface, take one dough ball and start rolling it out. Use gentle, even pressure. You want a thin, even circle, about 6 inches in diameter. Try to avoid making the edges too thin or the center too thick, as this can lead to uneven cooking.
- Heating the Pan: Get your cast iron skillet or tawa nice and hot over medium-high heat. It should be hot enough to cook the roti quickly but not so hot that it burns before it cooks through. A good test is to flick a tiny bit of water on it; it should sizzle and evaporate quickly.
- Cooking – The First Flip: Place the rolled-out roti onto the hot pan. Let it cook for about 10-20 seconds, just until you see tiny bubbles starting to form on the surface. Then, flip it over.
- Cooking – The Second Flip and Puff: Cook the second side for a bit longer, maybe 10-15 seconds. You might see some light golden spots. Now, here’s the exciting part: if you have a gas stove, carefully use tongs to move the semi-cooked roti directly over the open flame. Keep turning it gently, and it should start to puff up like a balloon! If you don’t have a gas stove, you can often get it to puff by flipping it back onto the pan and gently pressing down on the edges with a spatula. It might not puff as dramatically, but it will still get nice and airy.
Remember, practice makes perfect. Your first few rotis might not be perfectly round or puff up like a pro’s, and that’s totally okay. Just keep at it, and you’ll get there!
Troubleshooting and Enhancing Your Roti
Common Mistakes to Avoid in Soft Roti Recipes
Sometimes, even with the best intentions, our rotis don’t turn out as fluffy as we’d hoped. It’s usually down to a few common slip-ups. Don’t let a few tough rotis discourage you; they’re learning opportunities!
- Too Much Flour: Adding extra flour while kneading or rolling can make the dough dry. This means the roti won’t be soft and pliable, and it might even crack when you try to cook it.
- Uneven Rolling: If your roti is rolled out too thin in some spots and too thick in others, it won’t cook evenly. The thin parts might burn while the thick parts stay doughy.
- Heat Issues: Cooking on a pan that’s too hot will burn the outside before the inside cooks, preventing it from puffing. On the flip side, a pan that’s not hot enough won’t create the steam needed for that satisfying puff.
- Skipping the Rest: Not letting the dough rest after kneading is a big one. The gluten needs time to relax, otherwise, the dough will be tough and hard to roll.
Remember, the goal is a soft, pliable dough. If it feels sticky, resist the urge to dump in more flour. Instead, try kneading it a bit longer or lightly oiling your hands.
Tips for Puffing and Serving
Getting that perfect puff is like a little bit of magic happening right on your stove. It’s mostly about technique and timing.
Here’s how to encourage your rotis to puff up:
- Dough Consistency is Key: Your dough should be soft and easy to handle, not sticky or stiff. It should feel smooth and elastic after kneading.
- Resting is Non-Negotiable: After kneading, let the dough rest for at least 30 minutes, covered. This allows the gluten to relax, making it easier to roll and more likely to puff.
- Even Rolling: Roll your rotis into uniform circles. Any thick spots can prevent the steam from escaping properly, hindering the puff.
- The Right Heat: Cook on medium-high heat. You want the pan hot enough to create steam quickly, but not so hot that it burns the roti instantly.
- The Flip and Press: Cook the first side until small bubbles appear, then flip. Cook the second side briefly, then flip again. Gently pressing the edges with a clean cloth or spatula can help encourage an even puff.
Storing and Reheating:
To keep your rotis soft after cooking, stack them in a container lined with a clean kitchen towel and cover tightly. They’re best eaten fresh, but can be stored at room temperature for a day or two. Reheat them gently on a dry skillet for a few seconds per side to bring back their warmth and softness.
Wrapping Up Your Roti Journey
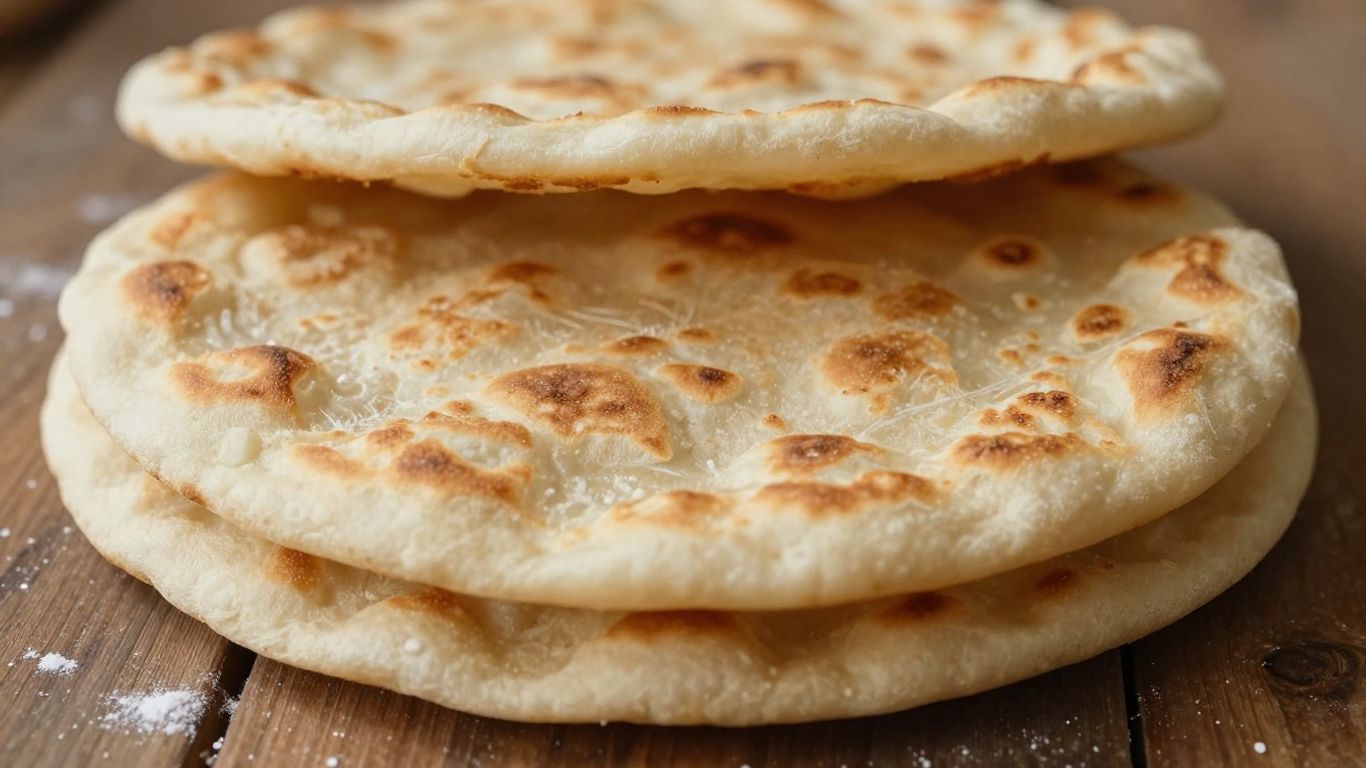
So there you have it! Making soft, fluffy rotis at home isn’t some big mystery. We’ve gone over the simple ingredients, the right way to mix and knead the dough, and how to get that perfect puff on the stove. Remember, it’s all about the right flour, a bit of patience with resting the dough, and getting that heat just right. Don’t worry if your first few aren’t perfect; practice really does make them better. Soon, you’ll be whipping up these delicious flatbreads like a pro, ready to scoop up all your favorite meals. Happy cooking!
Frequently Asked Questions
What makes roti soft?
To get really soft rotis, you need to use the right kind of flour, which is usually whole wheat flour, also called atta. It’s super important to knead the dough well until it’s smooth and stretchy. After kneading, letting the dough rest for at least 30 minutes is key. This resting time lets the gluten relax, making the dough easier to roll out and cook into soft, fluffy flatbreads.
Why don’t my rotis puff up?
Rotis might not puff up for a few reasons. Make sure your dough is the right consistency – soft and not too sticky. Kneading it enough but not too much is also important. Resting the dough properly helps a lot. When you cook them, the pan needs to be hot enough, but not scorching hot. Rolling the roti out evenly is also crucial, as thick spots can prevent it from puffing up all the way.
Can I make roti dough ahead of time?
Yes, you can definitely prepare roti dough in advance! You can make the dough and store it in the fridge for up to 4 days, just make sure to keep it covered tightly. You can also form the dough into balls, cover them with a damp cloth, and refrigerate them. This makes it super convenient to have fresh rotis ready whenever you want them.