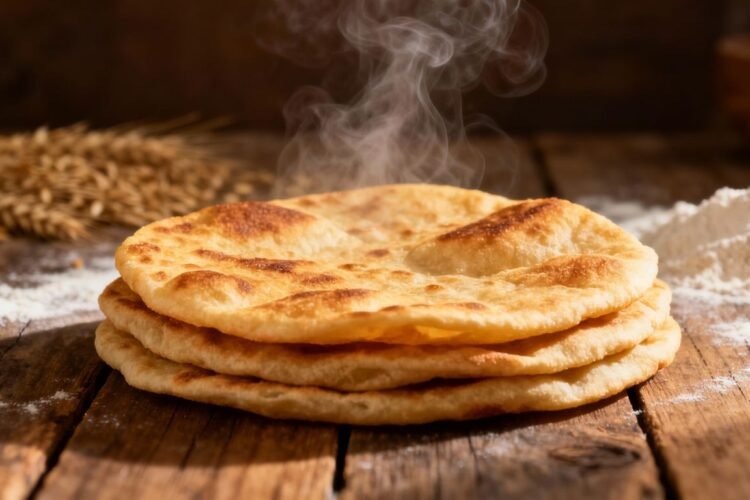
Making soft roti at home might seem tricky, but honestly, it’s totally doable. Forget those store-bought versions that are always a bit… off. This guide is all about getting that perfect, fluffy Indian flatbread right in your own kitchen. We’ll cover the simple stuff, like what you need and how to mix it, to the cooking part that makes them puff up just right. Get ready to impress yourself (and maybe your family too) with some seriously good soft roti recipes.
Key Takeaways
- Using the right kind of whole wheat flour, called ‘atta’, is key for that authentic taste and soft texture in your roti.
- Kneading the dough until it’s smooth and letting it rest for at least 30 minutes makes a big difference in how soft and easy to roll your roti will be.
- Cooking on medium heat and flipping at the right times helps your roti puff up nicely, making them light and airy.
Mastering The Dough For Soft Roti Recipes
Getting the dough right is really the first big step to making soft, fluffy rotis. It might seem simple, just flour and water, but there’s a bit more to it than just mixing things together. The texture of your final roti totally depends on how you treat this dough.
The Essential Ingredients for Perfect Roti
For basic, soft rotis, you don’t need much. It’s all about using good quality ingredients and understanding their role.
- Whole Wheat Flour (Atta): This is the star. Look for a fine grind, which makes for a smoother dough. It gives the roti its structure and that classic, slightly nutty flavor.
- Salt: Just a pinch really brings out the flavor of the flour and balances everything. Don’t skip it, but don’t go overboard either.
- Warm Water: This is what brings it all together. Using warm water helps the flour hydrate properly and makes the dough easier to work with. You’ll add it gradually, so you can get the consistency just right.
Some people add oil or ghee to the dough, thinking it makes them softer. Honestly, I’ve found that adding fat directly into the dough can actually make them a bit heavier and sometimes hinders that beautiful puff when cooking. I prefer to keep the dough simple and add a little ghee or butter after cooking.
Kneading and Resting: The Secrets to a Pliable Dough
This is where the magic happens. Kneading develops the gluten in the flour, which gives the roti its elasticity. But you don’t want to overdo it, or you’ll end up with tough bread.
- Kneading: Mix the flour and salt, then gradually add warm water. Start mixing with a spoon until it forms a shaggy mass. Then, it’s time to get your hands in there (or use a stand mixer on a low speed). Knead for about 5-8 minutes by hand, or 2 minutes in a mixer. You’re looking for a dough that’s smooth, soft, and pliable, but not sticky. If you poke it, the indentation should spring back slowly. If it springs back too fast, it needs a bit more kneading. If it stays indented, you might have kneaded a bit too much, but don’t worry too much about it for now.
- Resting: Once you’ve got that nice, smooth dough, cover it with a damp cloth or plastic wrap and let it rest. At least 30 minutes is good, but an hour or even two is even better. This resting period is super important because it allows the gluten to relax. When the gluten is relaxed, the dough becomes much easier to roll out thinly and evenly, which is key for getting that perfect puff later on.
Letting the dough rest is like letting a tense muscle relax. It becomes more cooperative and forgiving, making your job of rolling out perfectly round rotis so much easier. Don’t rush this step; it’s a small investment of time for a big payoff in softness and texture.
After resting, you’ll divide the dough into equal-sized balls, ready for rolling. The dough should feel soft and elastic, a good sign that you’re on your way to delicious, soft rotis.
Cooking Techniques for Puffy, Soft Roti
Alright, so you’ve got your dough ready, all kneaded and rested. Now comes the fun part: turning that soft ball into a puffy, delicious roti. It’s not magic, but it feels like it when they puff up just right!
Achieving the Perfect Puff on the Stovetop
Getting that beautiful puff is all about heat and timing. Here’s how to make it happen:
- Get Your Pan Hot: You want a medium-high heat on your skillet or tawa. It needs to be hot enough to cook the roti quickly but not so hot that it burns before it puffs. A good test is to flick a tiny bit of water; it should sizzle and evaporate fast.
- First Side Cook: Lay your rolled-out roti on the hot pan. Let it cook for about 10-20 seconds. You’re looking for tiny bubbles to start appearing on the surface. This means the heat is working its way through the dough.
- The Flip: Flip the roti over. Cook this second side for a bit longer, maybe 20-30 seconds. You’ll see more bubbles, and the roti will start to look a little less shiny and more cooked.
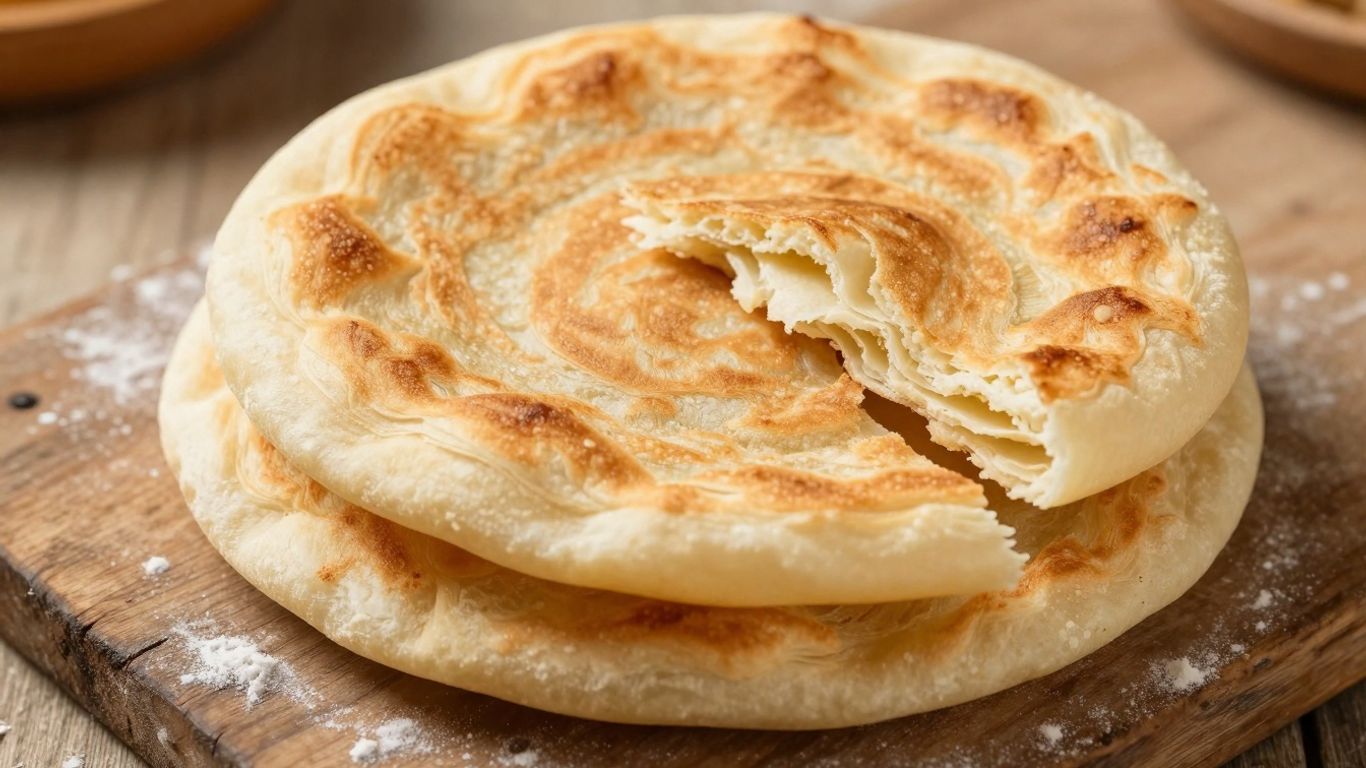
- The Puff: Now, for the dramatic part. If you have a gas stove, carefully pick up the semi-cooked roti with tongs and hold it directly over the open flame. Keep turning it gently. The trapped steam inside will cause it to puff up like a balloon! If you don’t have a gas stove, don’t worry. You can achieve a decent puff by flipping the roti back onto the pan and gently pressing around the edges with a spatula or a clean kitchen towel. This helps encourage the steam to build up and create pockets.
Remember, the dough needs to be pliable and rolled evenly for the best puff. If the dough is too stiff or the rolling is uneven, the steam can escape too easily.
Tips for Even Cooking and Softness
Beyond the puff, you want your rotis to be soft and cooked through, not dry or tough. Here are some pointers:
- Don’t Overcook: This is probably the biggest culprit for tough rotis. Once it’s puffed and has a few light golden spots, it’s done. Overcooking dries out the moisture.
- Keep Them Covered: As soon as a roti is cooked, slide it into a container or a bowl lined with a clean kitchen towel. Cover it immediately. This traps the steam and keeps the rotis soft and warm.
- A Little Fat Goes a Long Way: While you don’t cook rotis in oil, a little bit of ghee or melted butter brushed on top right after cooking makes them extra delicious and adds to the soft texture. It’s a small step that makes a big difference.
- Rolling Matters: Make sure you’re rolling the dough evenly. If one part is much thinner than another, it will cook faster and can become brittle, while the thicker part might be undercooked. Aim for consistent thickness all around.
Troubleshooting Common Roti Challenges
Even with the best intentions, sometimes your rotis might not turn out as soft and puffy as you’d hoped. Don’t worry, it happens to everyone! Most issues can be fixed with a few adjustments. Let’s look at some common problems and how to solve them.
Avoiding Dryness and Toughness
Dry and tough rotis are usually a sign that something went a bit off during the dough-making or cooking process. Often, it’s as simple as adding too much flour or not letting the dough rest long enough. When you’re kneading, try to use just enough flour to keep the dough from sticking to your hands or the surface. Too much flour makes the dough stiff, and that stiffness carries over into the cooked roti. Also, that resting period for the dough? It’s not just a suggestion; it’s really important for relaxing the gluten, which makes the roti tender. If your dough feels too firm, give it an extra 15-30 minutes to rest.
Here are some common culprits for tough rotis:
- Over-flouring: Adding too much dry flour during kneading or rolling. Use just enough to prevent sticking.
- Insufficient Resting: Not letting the dough rest after kneading. This is key for tenderizing.
- Dough Consistency: Starting with a dough that’s too stiff or dry. It should be soft and pliable.
- Overcooking: Leaving the roti on the heat for too long. This dries it out.
Sometimes, the water temperature used for the dough can make a difference. Using warm water helps the flour hydrate better, leading to a softer dough and, consequently, softer rotis. Cold water might not hydrate the flour as effectively.
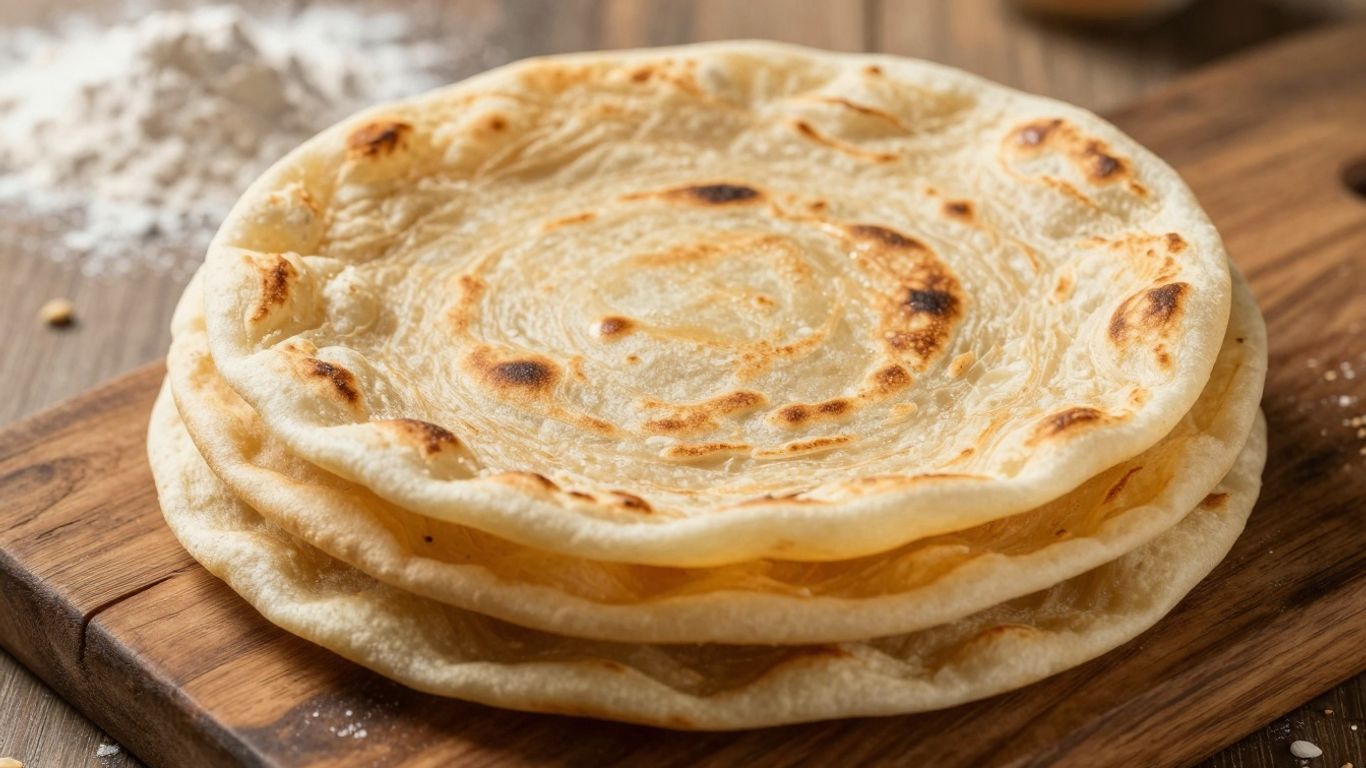
Ensuring Consistent Thickness and Puff
Getting that perfect, even puff on your roti is a bit of an art, but it’s definitely achievable. The main factors here are the heat of your cooking surface and how evenly you roll out the dough. If your pan (or tawa) isn’t hot enough, the roti won’t create the steam needed to puff up. On the other hand, if it’s scorching hot, the outside might burn before the inside has a chance to cook and puff.
Here’s a quick guide to help you get that lovely puff:
- Preheat Properly: Make sure your pan is heated to a medium-high setting. You want it hot, but not smoking. A good test is to flick a tiny bit of water; it should sizzle and evaporate quickly.
- Roll Evenly: Take your time rolling out each dough ball. Aim for a consistent thickness all around. Uneven spots will cook differently, preventing a full puff.
- Cook Smart: Place the rolled roti on the hot pan. You’ll see small bubbles forming on the surface within seconds. Flip it once these appear. Cook the second side for a bit longer, then flip again. Sometimes, gently pressing the edges with a clean cloth or spatula can encourage the puff.
If your roti isn’t puffing, check your heat and rolling technique first. A dough ball that’s too firm or rolled too thick will also struggle to puff.
| Problem Area | Likely Cause | Solution |
|---|---|---|
| No Puff | Pan not hot enough; Dough too stiff | Increase heat; Knead softer dough; Rest dough longer |
| Uneven Puffing | Uneven rolling; Hot spots on pan | Roll dough evenly; Adjust stove heat for even temperature |
| Burning Outside | Pan too hot | Reduce heat to medium-high |
| Dry/Hard Roti | Overcooked; Too much flour during rolling | Cook for less time; Use minimal flour when rolling |
Keep Practicing, Keep Eating!
So there you have it – making soft, fluffy roti at home is totally doable. It might take a few tries to get them just right, and that’s okay! Remember those tips about the dough, the heat, and rolling them out evenly. Don’t get discouraged if they don’t puff up perfectly every single time, especially at first. The most important thing is that they taste good and you’re enjoying the process. Soon enough, you’ll be whipping up these amazing flatbreads like a pro, perfect for scooping up all your favorite curries and dals. Happy cooking!
Frequently Asked Questions
What is roti and what is it made of?
Roti is a type of flatbread that’s a common food in many countries, especially in South Asia. It’s usually made from whole wheat flour, also known as ‘atta’ flour, along with water. It’s a simple bread that’s great for scooping up curries and other dishes.
Why won’t my roti puff up when I cook them?
There are a few reasons this might happen! Make sure your dough is soft and has rested well, as this helps it puff. Also, the heat of your cooking surface is important – it should be hot enough to create steam inside, but not so hot that it burns the outside too quickly. Rolling the roti evenly is also key for a good puff.
Can I make the roti dough ahead of time?
Yes, you can! You can prepare the dough a day before and keep it in the fridge, covered tightly. You can also form the dough into balls and store them in the fridge for a few days, or even freeze them for longer storage. Just make sure to cover them properly.