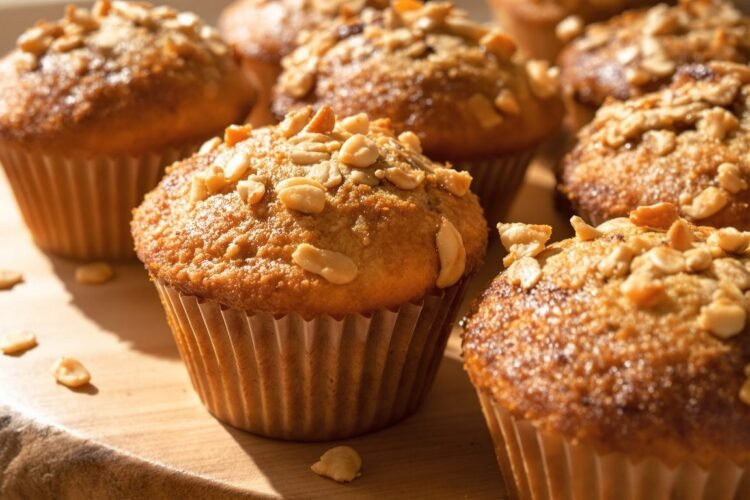
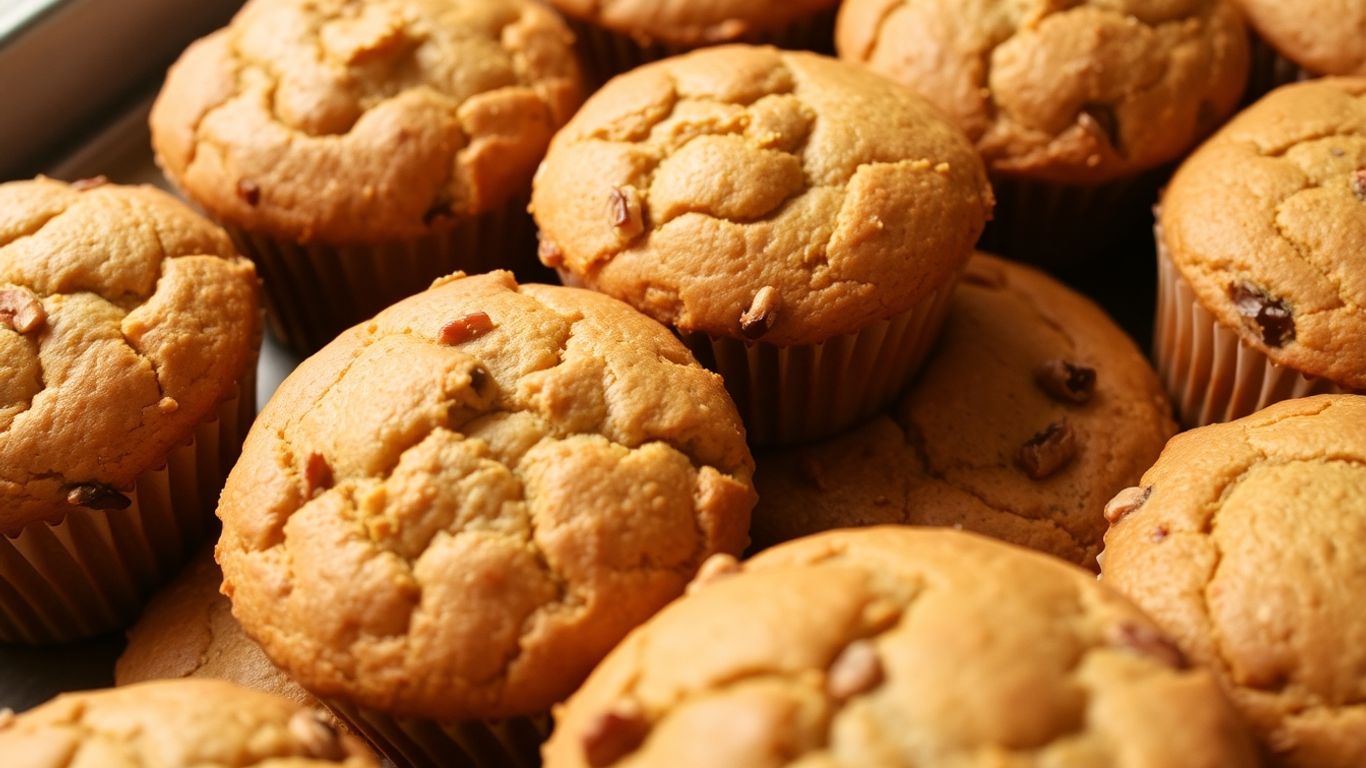
Craving a simple, tasty breakfast that’s also good for you? Look no further than these fantastic all bran buds muffins. They’re surprisingly easy to whip up, even if you’re not a baking pro. Forget those dry, bland muffins you might have tried before; this recipe is all about flavor and a satisfying texture. Perfect with your morning coffee or as a quick snack, these muffins are a real winner.
Key Takeaways
- All bran buds muffins are a wholesome and flavorful breakfast or snack option.
- The recipe is straightforward, making it accessible for bakers of all levels.
- These muffins can be customized with various add-ins and store well for future enjoyment.
Understanding Your All Bran Buds Muffins
What Are All Bran Buds Muffins?
All Bran Buds muffins are a type of baked good that uses All-Bran Buds cereal as a primary ingredient. These aren’t your average muffins; they’re designed to be a more wholesome option, often packed with fiber thanks to the bran. Think of them as a hearty breakfast or snack that can help keep you feeling full. They’re a great way to get some extra fiber into your diet without it feeling like a chore.
Why Choose All Bran Buds Muffins?
There are a few good reasons why you might reach for an All Bran Buds muffin recipe. For starters, they’re a fantastic source of dietary fiber, which is good for digestion. Plus, they tend to have a satisfying, slightly nutty flavor that many people enjoy. They’re also really versatile – you can easily add things like raisins, nuts, or even some fruit to customize them.
These muffins are often praised for being both nutritious and tasty, a combination that’s not always easy to find in baked goods. They offer a good balance of ingredients that can make them a go-to choice for a healthy start to the day or a satisfying snack.
Here’s a quick look at what makes them a good choice:
- High in Fiber: The bran cereal provides a good amount of dietary fiber.
- Nutritious Base: They offer a more wholesome alternative to many other muffin recipes.
- Customizable: Easy to adapt with your favorite add-ins like fruits or nuts.
- Satisfying: Their hearty texture can help keep you full longer.
Crafting Your Delicious All Bran Buds Muffins
Making these muffins is pretty straightforward, even if you’re not usually one for baking. The process is designed to be simple, so you can get a tasty treat without a lot of fuss.
Essential Ingredients for All Bran Buds Muffins
To get started, you’ll need a few key things. Most of these are probably already in your pantry, but it’s always good to check.
- Wheat Bran: This is the star of the show, giving the muffins their signature texture and fiber boost. You can usually find it in the cereal aisle, near oats or other grains.
- Flour: All-purpose flour provides the structure for the muffins.
- Sweetener: Brown sugar adds a nice, warm sweetness. You could experiment with honey or maple syrup if you prefer, but brown sugar works well here.
- Leavening Agents: Baking powder and a pinch of salt help the muffins rise and bring out the flavors.
- Liquid: Milk adds moisture. Buttermilk is a great option if you have it, as it contributes to a lighter texture and adds a bit of tang.
- Fat: Vegetable oil keeps the muffins moist without adding a strong flavor.
- Binder: An egg helps hold everything together and adds richness.
- Flavoring: A touch of vanilla extract can really make the flavors pop.
Step-by-Step Baking Instructions
Here’s how to put it all together. It’s really not complicated, so don’t worry if you’re new to baking.
- Prepare the Dry Mix: In a large bowl, combine your wheat bran, flour, brown sugar, baking powder, and salt. Give it a good whisk to make sure everything is evenly distributed. This prevents pockets of baking powder or salt in your finished muffins.
- Mix the Wet Ingredients: In a separate, smaller bowl, whisk together the milk, vegetable oil, egg, and vanilla extract until they’re well combined.
- Combine Wet and Dry: Pour the wet ingredients into the bowl with the dry ingredients. Mix everything together with a spoon or spatula until it’s just combined. It’s important not to overmix here; a few small lumps are perfectly fine. Overmixing can make your muffins tough.
- Fill the Muffin Cups: Spoon the batter evenly into a greased or lined muffin tin. A standard muffin tin usually makes about 12 muffins, but this recipe might yield a bit fewer depending on how full you make each cup.
- Bake: Pop the muffin tin into a preheated oven at 400°F (200°C). Bake for about 18-20 minutes. You’ll know they’re done when a toothpick inserted into the center comes out clean, or when the tops spring back lightly when you touch them.
Remember, the batter for bran muffins can thicken up pretty quickly as the bran soaks up the liquid. It’s a good idea to get the batter into the muffin tin and into the oven fairly soon after mixing to avoid a batter that’s too stiff.
Let the muffins cool in the tin for a few minutes before transferring them to a wire rack to cool completely. Enjoy them warm or at room temperature!
Enhancing Your All Bran Buds Muffins Experience

Creative Add-ins for Your Muffins
So, you’ve mastered the basic All Bran Buds muffin, and now you’re ready to jazz things up a bit. It’s really easy to personalize these muffins. Think of them as a blank canvas for your culinary creativity! Adding different ingredients can totally change the flavor and texture, making each batch unique. Don’t be afraid to experiment with what you have in your pantry.
Here are some popular choices that work really well:
- Dried Fruits: Raisins are a classic, but have you tried dried cranberries, chopped dates, or even dried apricots? They add a chewy texture and a concentrated sweetness.
- Nuts and Seeds: Chopped walnuts, pecans, or almonds give a nice crunch. For a nutritional boost, consider adding sunflower seeds or pumpkin seeds (pepitas).
- Fresh or Frozen Berries: Blueberries are fantastic, but raspberries, blackberries, or even chopped strawberries can be folded in. If using frozen berries, don’t thaw them first; toss them with a little flour to prevent sinking.
- Spices: A pinch of cinnamon, nutmeg, or even a bit of cardamom can add warmth and depth to the flavor profile.
- Citrus Zest: Lemon or orange zest adds a bright, fresh note that cuts through the richness.
When adding ingredients, a good rule of thumb is to add about 1/2 to 1 cup of mix-ins per batch of 12 muffins. Just gently fold them into the batter after you’ve combined the wet and dry ingredients, right before spooning into the muffin tin. This helps keep them evenly distributed.
Remember that adding moist ingredients like fresh fruit might slightly alter the baking time, so keep an eye on them during the last few minutes of baking.
Storing and Freezing Your All Bran Buds Muffins
Once your delicious All Bran Buds muffins are out of the oven and cooled, you’ll want to store them properly to keep them fresh. They’re pretty forgiving, but a little care goes a long way.
- Room Temperature Storage: For muffins you plan to eat within a couple of days, an airtight container is your best bet. You can place a paper towel in the bottom of the container and on top of the muffins to help absorb any extra moisture, which prevents them from getting soggy. They should stay good for about 3-4 days this way.
- Refrigeration: If your kitchen is particularly warm or you want them to last a bit longer, you can refrigerate them. Again, an airtight container is key. They’ll typically last up to a week in the fridge, but the texture might change slightly, becoming a bit denser.
- Freezing: These muffins freeze like a dream! Once completely cooled, wrap each muffin individually in plastic wrap or foil, then place them in a freezer-safe bag or container. This protects them from freezer burn. They can last for up to 2-3 months in the freezer. To enjoy, just unwrap them and let them thaw at room temperature, or pop them in the microwave for a few seconds for a warm treat. You can also reheat them in a low oven for a few minutes to bring back that fresh-baked feel. It’s always good to have a batch ready to go for a quick breakfast or snack, and knowing how to prepare bran muffins is a great skill to have.
Enjoy Your Deliciously Simple Muffins!
So there you have it – a super easy way to whip up some tasty All Bran Buds muffins. They’re perfect for a quick breakfast on the go or a nice snack with your coffee. Don’t be afraid to mix in your favorite add-ins like berries or nuts to make them your own. These muffins are pretty forgiving, so even if you’re new to baking, you should have no trouble getting great results. Give them a try and enjoy a wholesome treat!
Frequently Asked Questions
What exactly are All Bran Buds muffins?
These are tasty muffins made with All Bran Buds cereal, which gives them a wholesome, fiber-rich base. They’re often flavored with things like cinnamon and vanilla, and you can add other goodies like raisins or nuts to make them even better. They’re a great choice for a quick breakfast or a healthy snack.
Can I use regular bran cereal instead of All Bran Buds?
While some recipes suggest grinding up regular bran cereal like All-Bran or Fiber One into crumbs, it’s best to use actual wheat bran if the recipe calls for it. Cereal often has added sugars and other ingredients that might change how the muffins turn out. If you can’t find wheat bran, it’s better to look for a different muffin recipe.
How should I store my All Bran Buds muffins?
You can keep these muffins fresh at room temperature in an airtight container for a few days. To keep them longer, store them in the refrigerator for up to a week. They also freeze really well; just put them in a freezer-safe container and they’ll last for about three months. Thaw them overnight in the fridge or warm them up quickly in the microwave.