If you’re looking for a taste of coastal India, you’ve come to the right place. This goan shrimp curry recipe brings the vibrant flavors of Goa right to your kitchen. It’s a dish that’s both comforting and exciting, perfect for a weeknight dinner or a special occasion. We’ll walk you through how to make this classic dish, step by step, so you can enjoy an authentic experience.
Key Takeaways
- The goan shrimp curry recipe features a creamy coconut base, tangy notes from tamarind or kokum, and a blend of aromatic spices.
- This dish is a staple in Goan cuisine, known for its fresh ingredients and coastal influences.
- Serve your authentic goan shrimp curry with steamed rice or sannas for a complete and satisfying meal.
Understanding The Goan Shrimp Curry
A Classic Coastal Indian Delight
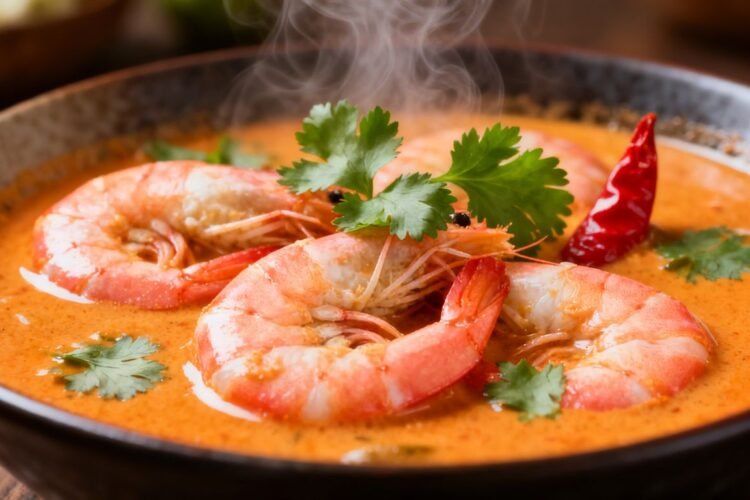
Goan shrimp curry, often called Goan prawn curry, is a real gem from the coast of India. It’s not just another curry; it’s a dish that really speaks of Goa’s connection to the sea. Think creamy coconut milk, a little bit of tang from ingredients like kokum or tamarind, and a blend of spices that smell amazing. It’s the kind of food that feels both comforting and a little bit special. This curry is a staple in Goan homes, a dish many grew up with, and it’s a perfect example of how coastal Indian cuisine uses fresh, local flavors to create something truly memorable. It’s often served with fluffy steamed rice, making it a complete and satisfying meal.
Why This Goan Shrimp Curry Recipe Stands Out
What makes this particular Goan shrimp curry recipe special is its focus on fresh, vibrant flavors. Instead of relying on pre-made pastes, we’ll be grinding our own masala with fresh coconut and a mix of aromatic spices. This makes a big difference in the final taste and color of the curry. It’s a recipe that’s pretty straightforward, even if you’re new to Indian cooking, but the results are anything but simple – they’re deeply flavorful and authentic. The balance of tangy, spicy, and creamy notes is what truly sets this dish apart. It’s a taste of coastal India that’s surprisingly easy to bring to your own kitchen.
Here’s a quick look at what makes this recipe great:
- Fresh Masala: Using freshly ground coconut and spices for the base.
- Balanced Flavors: A perfect mix of tangy, spicy, and creamy.
- Simple Yet Authentic: Easy steps to achieve a genuine Goan taste.
This curry is a wonderful introduction to Goan cuisine, showcasing the region’s love for seafood and its unique spice blends. It’s a dish that’s both approachable for home cooks and impressive enough for guests.
Crafting Your Authentic Goan Shrimp Curry
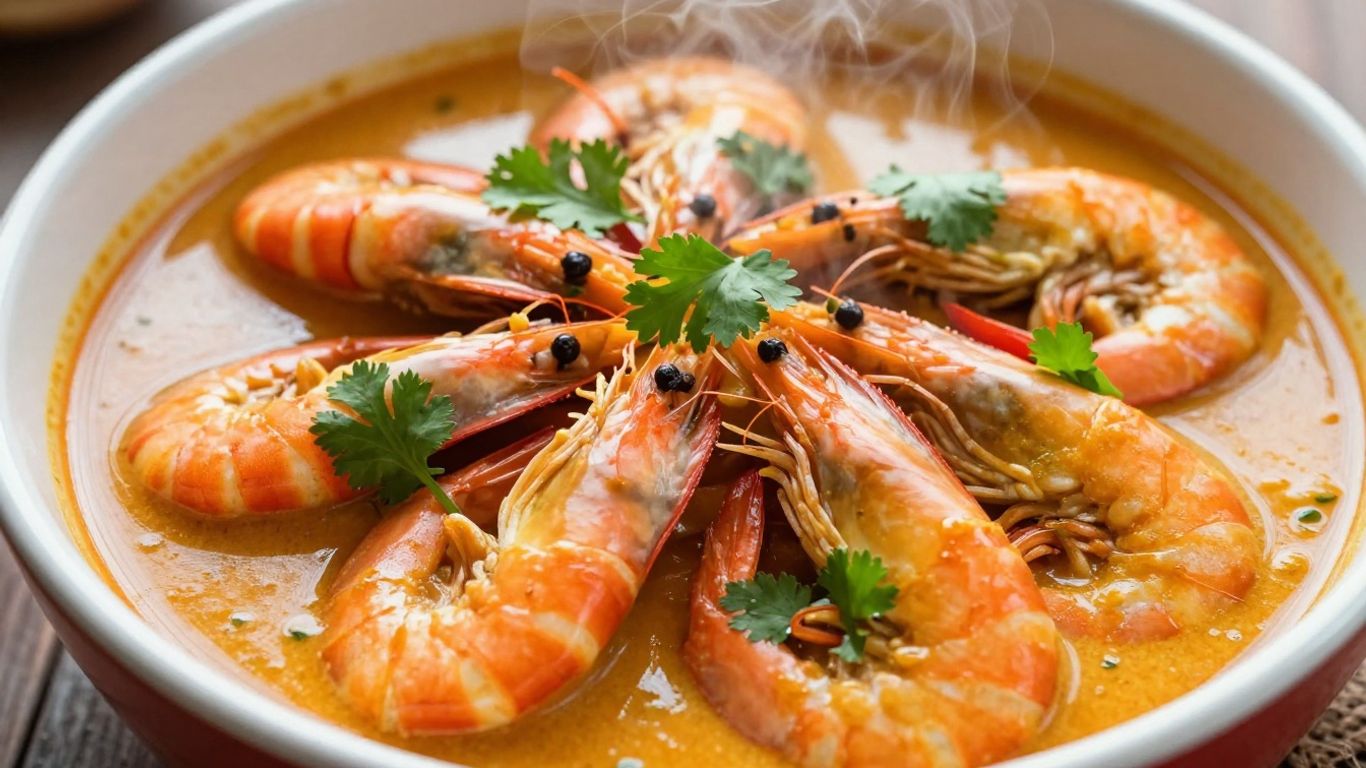
This section is all about getting your hands dirty and making that delicious Goan shrimp curry. It’s not as complicated as it might sound, honestly. We’ll break down what you need and then walk through the steps. You’ll see that with a little bit of prep, you can make something really special.
Essential Ingredients For A Flavorful Curry
Getting the right ingredients is half the battle, and for Goan shrimp curry, it’s all about balancing those coastal flavors. You’ll want to grab some nice, fresh shrimp – about a pound should do for a good batch. Make sure they’re deveined and shelled, which saves you a step later. For that signature tang, kokum is the traditional choice, but if you can’t find it, tamarind paste is a perfectly good substitute. Don’t forget the aromatics: onions and garlic are a must for the base. Then there are the spices that give it that beautiful color and warmth – think Kashmiri red chili powder for color, turmeric for earthiness, and coriander powder. Coconut milk is key for that creamy, rich texture that makes this curry so comforting. A little bit of coconut oil for cooking adds another layer of authentic flavor, though a neutral vegetable oil will work in a pinch.
Here’s a quick rundown of what you’ll need:
- Shrimp: About 1 pound (500g), deveined and shelled.
- Souring Agent: 5-6 pieces of dried kokum or 2 tablespoons tamarind paste.
- Aromatics: 1 medium red onion (diced), 4 cloves garlic (chopped).
- Spices: 1 teaspoon turmeric powder, 1.5 teaspoons Kashmiri red chili powder, 1 teaspoon coriander powder, 1 teaspoon whole cumin seeds.
- Flavor Boosters: 9-10 curry leaves, 2 tablespoons vinegar (balsamic or regular).
- Liquid Base: 3/4 cup coconut milk.
- Fat: 1 tablespoon coconut oil.
- Seasoning: Salt to taste.
Step-By-Step Guide To Making Goan Shrimp Curry
Alright, let’s get cooking. It’s a pretty straightforward process, and you can have this on the table in about 40 minutes total.
- Prep the Shrimp: If you haven’t already, make sure your shrimp are cleaned, deveined, and shelled. You can toss them with a pinch of salt and turmeric if you like, but it’s not strictly necessary for this method.
- Build the Base: Heat the coconut oil in a large pot or Dutch oven over medium heat. Add the diced onion and cook until it’s soft and see-through, about 5-7 minutes. Then, toss in the chopped garlic and cook for another minute until fragrant.
- Add Spices and Tomatoes: Stir in the turmeric powder, Kashmiri red chili powder, coriander powder, and whole cumin seeds. Cook for about 30 seconds until the spices smell nice. Add the diced tomatoes and cook until they start to break down, maybe 3-4 minutes.
- Simmer the Sauce: Pour in about 3/4 cup of water. You can use an immersion blender here if you want a smoother sauce, but leaving it a bit chunky is fine too. Add the curry leaves and kokum (or tamarind paste). Let this simmer for about 5 minutes.
- Add Coconut Milk and Shrimp: Stir in the coconut milk and bring the mixture back to a gentle simmer. Now, add your shrimp. Season with salt. Cook for just 6-8 minutes, or until the shrimp turn pink and opaque. Be careful not to overcook them, or they’ll get tough.
The key to tender shrimp is not to let them cook for too long. They cook very quickly, so once they change color, they’re pretty much done. Keep the heat on low once you add them and just let them warm through.
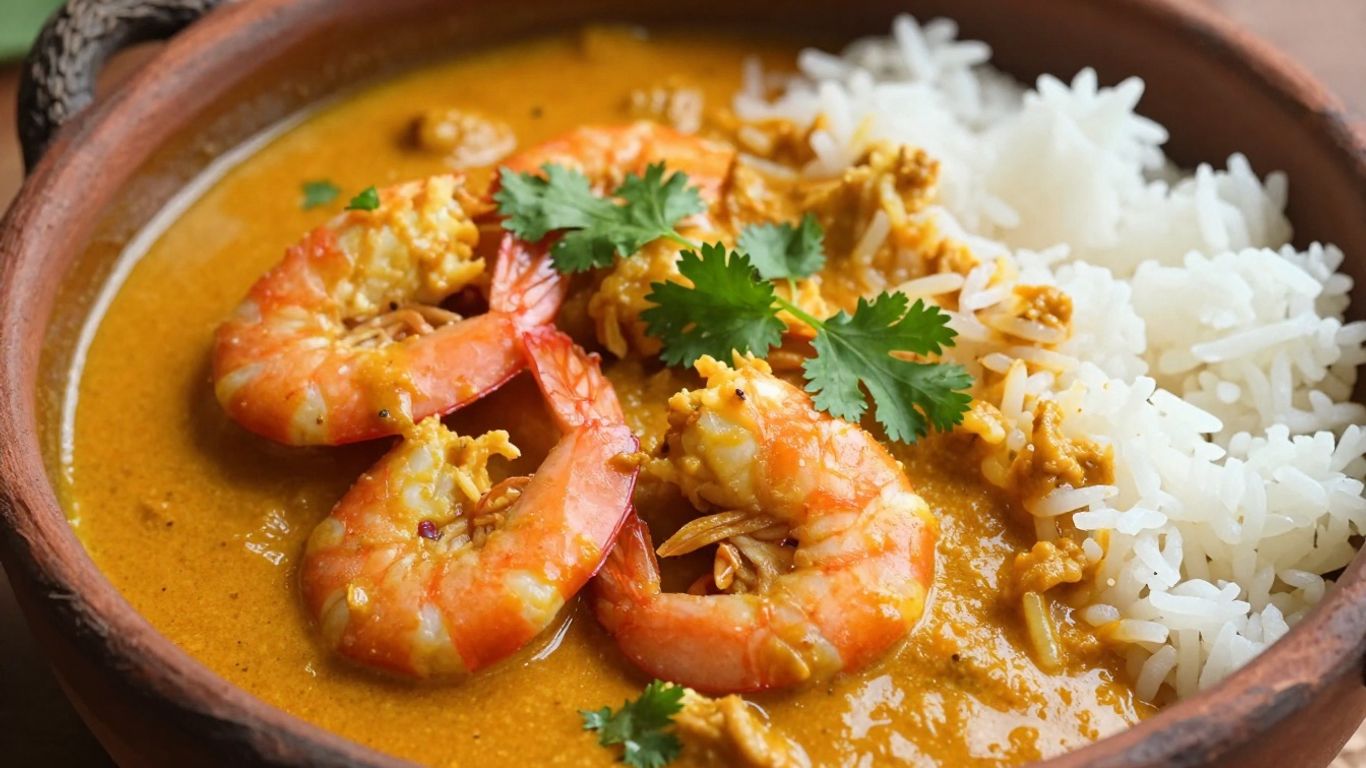
And that’s it! Your authentic Goan shrimp curry is ready to be served. It’s fantastic over a bed of fluffy basmati rice.
Elevating Your Goan Shrimp Curry Experience
Creative Variations To Explore
While the classic Goan shrimp curry is fantastic on its own, don’t be afraid to play around with it! Sometimes, a little tweak can make it even more special. For instance, if you’re looking for a different kind of tang, try adding a few slices of raw green mango instead of the usual tamarind paste. It gives the curry a fresh, slightly different sour note that’s really nice. Or, if you want to add a bit more texture and substance, toss in some stir-fried okra or radishes along with the shrimp. It sounds a bit unusual, but it works surprisingly well.
And of course, this curry is super adaptable when it comes to the main star. Don’t have shrimp? No problem. You can easily swap them out for other types of seafood like fish or even other shellfish. Some folks even make a version called Ambotik, which uses freshly grated coconut instead of coconut milk for an even richer, more traditional flavor. It’s all about what you have on hand and what you like!
Tips For Storing And Reheating
So, you made a big batch of this delicious curry, and now you have leftovers. That’s great! Goan shrimp curry keeps pretty well in the fridge. Just pop it into an airtight container, and it should be good for about 3 to 4 days. When you’re ready to eat it again, just reheat it gently. You can do this in a pan on the stove or even in the microwave.
One thing to watch out for is that the curry might get a bit thicker after it’s been in the fridge. If that happens, don’t worry. Just add a splash of hot water while you’re reheating it to get it back to that perfect, saucy consistency. It makes a world of difference and stops it from being too gloopy.
Here’s a quick rundown of what you might need to consider:
- Storage Container: Use an airtight container to keep the curry fresh and prevent it from absorbing other smells in the fridge.
- Reheating Method: Stovetop reheating allows for more control over the heat and consistency. Microwaving is faster but can sometimes heat unevenly.
- Adjusting Consistency: Always have a little hot water or broth handy when reheating, just in case the curry thickens up too much.
- Don’t Overcook: Remember, the shrimp cook very quickly. When reheating, aim to just warm the curry through without cooking the shrimp further, or they’ll get tough.
Enjoy Your Taste of Goa
So there you have it – a simple way to bring the vibrant flavors of Goa right into your kitchen. This shrimp curry isn’t just a meal; it’s a little trip to the coast with every bite. It’s pretty straightforward, and the result is a dish that’s both comforting and exciting. Whether you serve it over fluffy rice or with some crusty bread, we hope you enjoy making and eating this authentic Goan shrimp curry. Let us know how it turns out for you!
Frequently Asked Questions
What makes Goan shrimp curry special?
Goan shrimp curry is special because it uses fresh ingredients like coconut, tangy tamarind or kokum, and a mix of aromatic spices. It’s not too heavy on spices, letting the natural flavors of the shrimp and coconut shine through. This makes it a creamy, slightly sour, and wonderfully tasty dish that reminds people of the coast.
Can I use different kinds of shrimp or seafood?
Yes, you definitely can! While this recipe is made for shrimp, it’s also great with other types of seafood like prawns or even fish. Just make sure to adjust the cooking time so the seafood doesn’t get tough. If you’re not a fan of seafood, you could even try adding vegetables like okra or radishes to the curry.
How should I store and reheat this curry?
You can keep leftover Goan shrimp curry in a sealed container in the fridge for about 3 to 4 days. To reheat, gently warm it up on the stove or in the microwave. If the curry seems a bit thick after chilling, just add a little hot water while warming it to get the right consistency back.