There’s something special about making pani puri at home. Maybe it’s the challenge, or maybe it’s just the fun of eating them fresh. I’ve always loved this snack, and after a few tries (and a couple of kitchen disasters), I finally figured out how to make pani puri in home without making a huge mess. Trust me, it’s a bit of work, but once you get the hang of it, you’ll want to make them for every get-together. Let’s break down the steps so you can enjoy this classic street food right from your own kitchen.
Key Takeaways
- Kneading the dough well and keeping it elastic is key for crispy, puffed puris.
- The pani (spiced water) tastes best when prepared ahead and chilled for a few hours.
- Assemble everything before serving so you can enjoy pani puri while it’s fresh and crunchy.
Crafting Crispy Puris For Your Pani Puri
Making the little crispy shells, or puris, for your pani puri at home might seem a bit daunting, but honestly, it’s totally doable. The key is getting the dough just right and then frying them at the perfect temperature. If you nail these two things, you’ll have those satisfyingly crunchy puris that puff up beautifully.
Kneading The Perfect Dough For Puris
Getting the dough consistency is probably the most important part. You want a dough that’s firm but still pliable, not too sticky and not too dry. It takes a bit of kneading to get the semolina (rava) to absorb water properly and develop that elasticity.
Here’s a basic rundown:
- Mix Dry Ingredients: Start with fine semolina (rava), a bit of all-purpose flour (maida), and a tiny pinch of salt. Some recipes add a whisper of baking soda, but it’s not always necessary.
- Add Water Gradually: Slowly add water, a tablespoon at a time, and start kneading. You’re aiming for a smooth, firm dough. It should feel elastic and spring back a little when you poke it.
- Rest the Dough: Once you’ve kneaded it for about 8-10 minutes until it’s smooth, cover the dough with a damp cloth and let it rest for at least 30 minutes. This resting period is super important; it lets the semolina soak up the water fully.
Don’t rush the kneading process. A well-kneaded dough is what gives your puris that characteristic crispiness and helps them puff up when fried. If the dough is too soft, the puris will be oily and won’t puff. If it’s too stiff, they’ll be hard to roll thin enough.
Achieving The Ideal Puri Thickness And Frying Technique
After the dough has rested, give it another quick knead. Then, divide it into smaller portions. Rolling out the dough evenly is where the magic happens.
- Rolling: Lightly grease your rolling surface and pin. Roll out each portion of dough as thinly and evenly as you can, aiming for about 2mm thickness. You want it thin enough to puff, but not so thin that it tears easily. A diameter of around 6.5 inches is a good target for each rolled-out circle.
- Cutting: Use a round cutter or a small bowl to cut out uniform circles from the rolled dough. Collect the scraps, re-knead them, and roll them out again until all the dough is used.
- Frying: Heat oil in a deep pan over medium-high heat. The oil temperature is critical for puffing. To test, drop a tiny piece of dough; it should sizzle and rise immediately. Gently slide a few puris into the hot oil, being careful not to overcrowd the pan. They should puff up within seconds. Use a slotted spoon to gently nudge them if needed. Once puffed, reduce the heat slightly and fry them until they turn a light golden brown on both sides. Don’t over-fry them, or they’ll become too hard.
Drain the fried puris on paper towels to get rid of excess oil. It’s best not to stack them while they’re still hot, as they can get soggy. Let them cool completely before storing them in an airtight container. If, by chance, some don’t puff up, don’t worry! They can still be used for other chaat dishes.
Assembling Your Homemade Pani Puri Delight
Alright, so you’ve got your crispy puris ready and waiting. Now comes the fun part – putting it all together! This is where all those separate components come together to make that amazing bite.
Preparing the Flavorful Pani
The ‘pani’ is really the star of the show, isn’t it? It’s that burst of flavor that makes pani puri so special. Getting the balance right between spicy, tangy, and a little bit sweet is key. You want it to be refreshing, not overpowering.
Here’s a basic idea of what goes into a good pani:
- Fresh cilantro and mint leaves for that vibrant green color and zing.
- A bit of ginger and green chilies for a kick.
- Tamarind paste for tanginess.
- Sugar to balance the flavors.
- Spices like roasted cumin, coriander, fennel, and a pinch of black salt (kala namak) for that authentic taste.
- Lemon juice to brighten everything up.
The trick is to blend these ingredients with a little water until smooth, then add more water to reach your desired consistency. It’s best to let this mixture chill in the fridge for a couple of hours. This gives all those flavors time to really meld together. Some people like to strain it for a smoother texture, while others prefer it a bit more rustic. It’s really up to you!
You can make the pani a day or two ahead of time and keep it chilled. This is a lifesaver when you’re getting ready to serve everything.
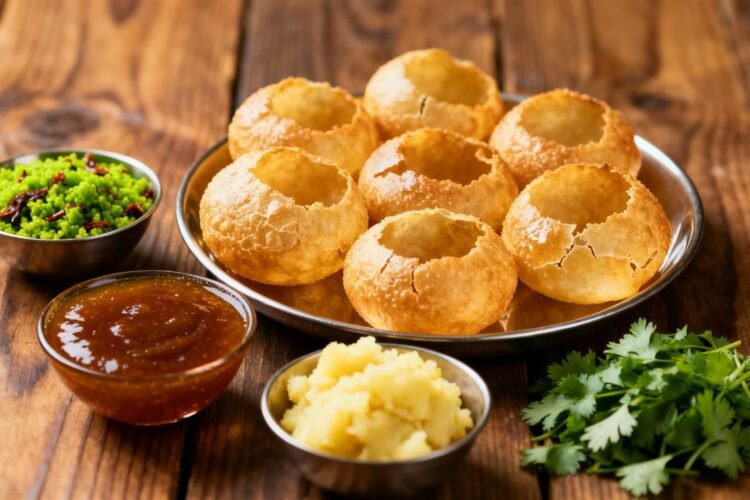
Creating the Delicious Filling and Final Assembly
For the filling, the classic combo is boiled potatoes and chickpeas. You can boil them ahead of time and keep them in the fridge. When it’s time to assemble, you have a couple of options. You can mash the potatoes and chickpeas together with some salt, pepper, and maybe a pinch of cayenne for a little extra heat. Or, if you’re feeling fancy or catering to picky eaters, you can keep them separate. This way, everyone can choose what they want in their puri.
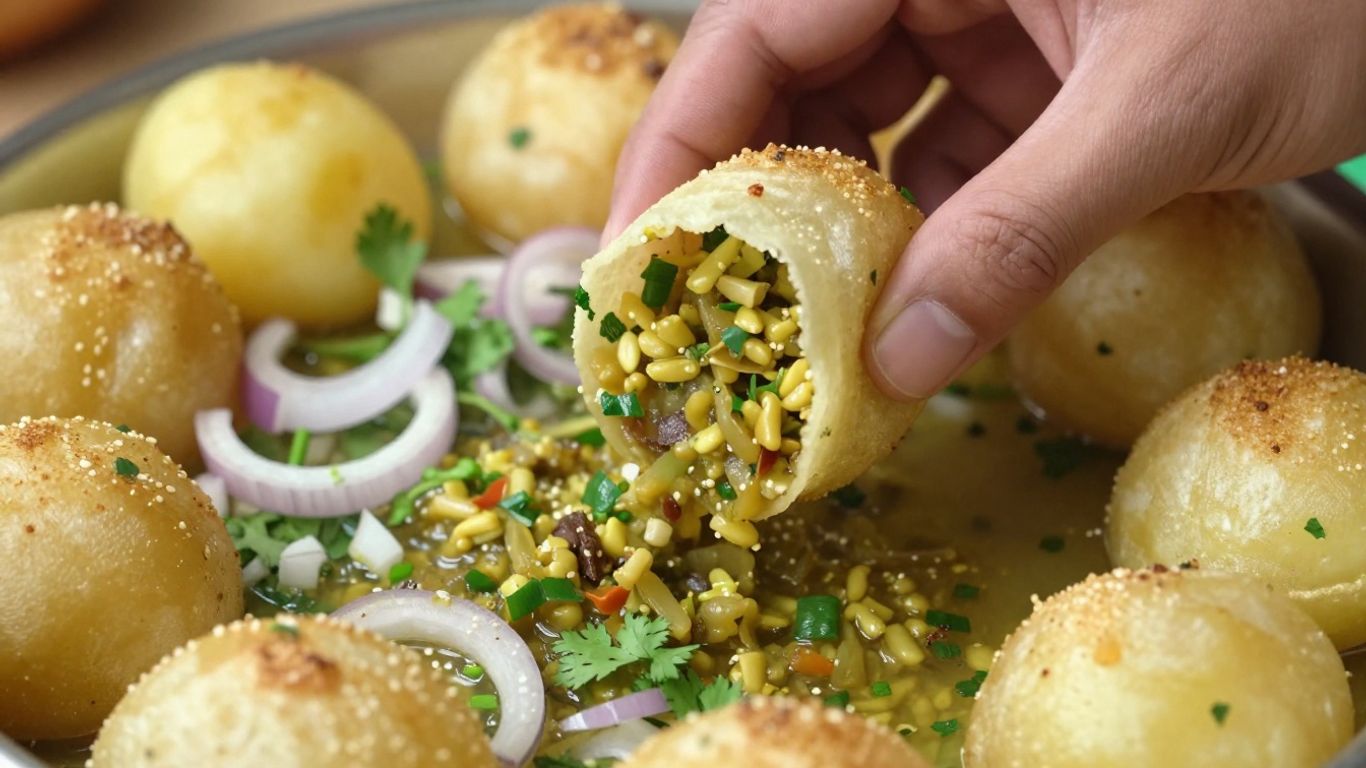
Now for the assembly line!
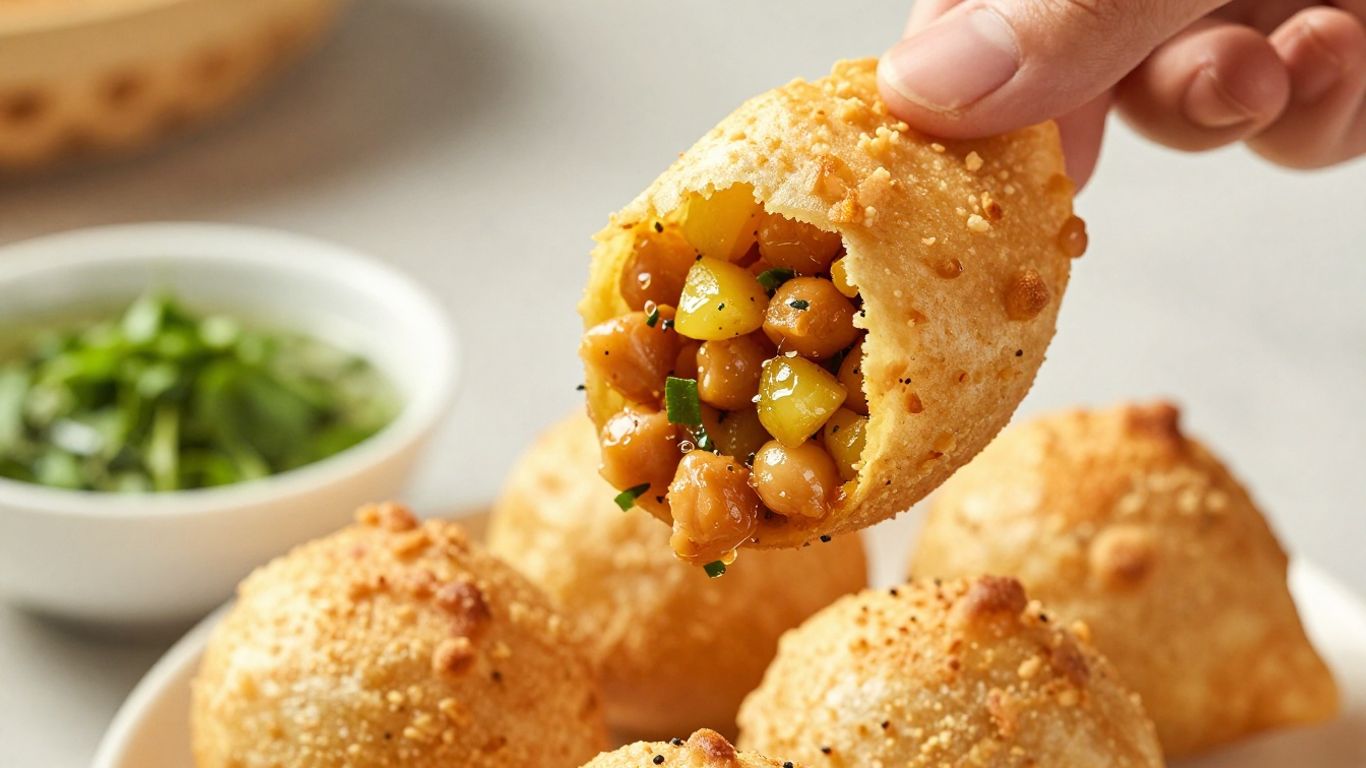
- Take a puri and gently make a small hole in the center. You don’t want to break it, just create an opening.
- Spoon in your potato and chickpea filling.
- Pour in a generous amount of your chilled, flavorful pani.
- Pop the whole thing into your mouth and enjoy the explosion of flavors and textures!
It’s a bit of an art form, and honestly, it’s super fun to do with friends or family. Just have all your components ready, and let the assembly begin!
Enjoy Your Homemade Pani Puri!
So there you have it! Making pani puri at home might seem like a lot, but honestly, it’s totally worth it. You get to control all the ingredients, and let me tell you, nothing beats the taste of freshly made puris and that zesty pani. It’s a fun project, and even better when you get to share it with friends and family. Don’t be discouraged if your first batch of puris isn’t perfect – practice makes perfect, right? Soon you’ll be a pani puri pro, whipping up this amazing street food whenever the craving hits. Happy cooking!
Frequently Asked Questions
Can I bake the puris instead of frying them?
Baking pani puri puris isn’t recommended. The magic of them puffing up comes from the dough reacting with hot oil. Baking them might just make them crispy like a cookie, not the light, airy spheres you want.
My puris didn’t puff up when frying. What went wrong?
There are a few reasons this might happen! Make sure your dough is kneaded well and not too stiff. Also, the dough needs to be rolled out thinly, about 1.5 to 2 mm thick. Lastly, the oil needs to be hot enough – test with one puri; it should sizzle and puff up right away.
How can I make my puris extra crispy if they turn out a bit soft?
If your puris are a little soft after frying, don’t worry! You can crisp them up by preheating your oven to its lowest setting for about 15 minutes. Then, turn off the oven and place the puris on a baking tray inside for another 15 minutes. Let them cool completely before storing.