Making soft, fluffy rotis at home can feel like a challenge, right? You follow the steps, but sometimes they end up a bit tough or don’t puff up like you see in pictures. It’s a common kitchen puzzle. But what if I told you a few simple tricks could change your roti game entirely? We’re going to look at the dough, how you cook them, and even a few ways to keep them tasting fresh. Get ready to impress yourself and anyone you cook for with perfect rotis every time. Let’s figure out how to make roti softer.
Key Takeaways
- The dough is super important for soft rotis. Make sure it has the right amount of water and knead it well until it’s smooth and soft. Adding a little oil or ghee to the dough can help a lot.
- Cooking temperature matters. Get your pan nice and hot before you put the roti on. Cook each side quickly, and then puff it up on the flame for that perfect texture. Don’t overcook them, or they’ll get hard.
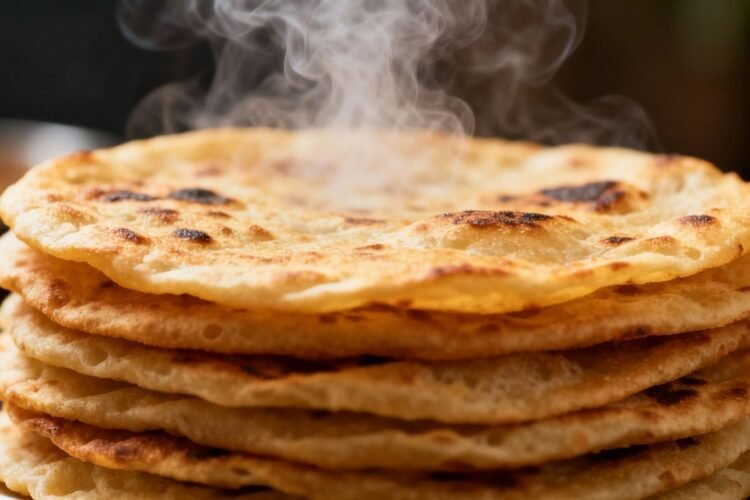
- To keep rotis soft after cooking, stack them on top of each other and cover them with a cloth. A little ghee or oil brushed on while they’re hot also helps keep them moist and tasty.
Mastering The Dough For Soft Rotis
The Importance Of Moisture Content
Getting the dough right is pretty much the most important step for soft rotis. If the dough is too dry, you’ll end up with hard, crumbly flatbreads that just aren’t enjoyable. On the flip side, too much water makes the dough sticky and difficult to handle, leading to misshapen rotis that might not cook evenly.
The ideal dough should feel soft and pliable, like your earlobe. It shouldn’t stick to your hands excessively, but it also shouldn’t feel dry or stiff. This balance is key to trapping steam inside the roti as it cooks, which is what makes it puff up and stay soft.
Here’s a quick rundown of what to aim for:
- Flour Type: Whole wheat flour (atta) is standard, but make sure it’s fresh. Older flour can sometimes be drier.
- Water Temperature: Lukewarm water is generally best. It helps the flour absorb moisture more easily than cold water.
- Kneading Time: Don’t skimp on this! A good 10-15 minutes of kneading makes a big difference.
A common mistake is adding water all at once. It’s better to add it gradually, a little at a time, until you reach that perfect soft consistency. You can always add more water, but it’s hard to take it out!
Kneading Techniques For A Pliable Dough
Kneading isn’t just about mixing ingredients; it’s about developing the gluten in the flour. This gluten network is what gives the roti its structure and elasticity. When you knead properly, you’re essentially creating tiny pockets that will hold steam, leading to that lovely puff.
When you start, the flour and water might seem like they’re not going to come together. Just keep at it. Push the dough away from you with the heel of your hand, then fold it over and repeat. It takes a bit of effort, but it’s worth it.
Here’s a simple way to think about the process:
- Initial Mix: Combine flour and water until a shaggy dough forms.
- Develop Elasticity: Knead for at least 10 minutes, pushing and folding until the dough is smooth and elastic.
- Resting Period: Cover the dough with a damp cloth and let it rest for about 20-30 minutes. This allows the gluten to relax, making the dough easier to roll and resulting in softer rotis.
If you find the dough is a bit too sticky during kneading, resist the urge to dump in a lot more dry flour. Instead, lightly wet your hands or use a tiny bit of oil to manage it. This keeps the moisture balance just right.
Cooking Techniques For Perfectly Puffed Rotis
Mastering the actual cooking is what really decides if your rotis puff just right or end up flat and dry. Once you’ve got your dough sorted, the way you use your pan and flame can totally change the texture. Getting both of these right is how you get those fun, round balloon-like rotis.
Achieving The Right Pan Temperature
The pan—usually a tawa—needs to be just the right level of hot. Too cool, and your rotis become tough; too hot, and you’ll get burnt spots without cooking the inside. Here’s how to make sure your pan’s ready:
- Preheat the tawa for at least 2–3 minutes on medium-high heat.
- Flick a few drops of water on the pan; if they sizzle and vanish quickly, it’s time to start.
- Place the rolled dough on the hot surface. After about 10–15 seconds, you should see small bubbles forming on the surface.
- Flip it, cook for another 30–40 seconds, and watch for even browning.
Ideal Pan Temperatures By Material
| Material | Recommended Thickness | Heat Distribution |
|---|---|---|
| Cast Iron | 4–5 mm | Excellent |
| Aluminum | 2–3 mm | Good |
| Steel | 3 mm | Good |
| Copper | 1.5–2 mm | Fair |
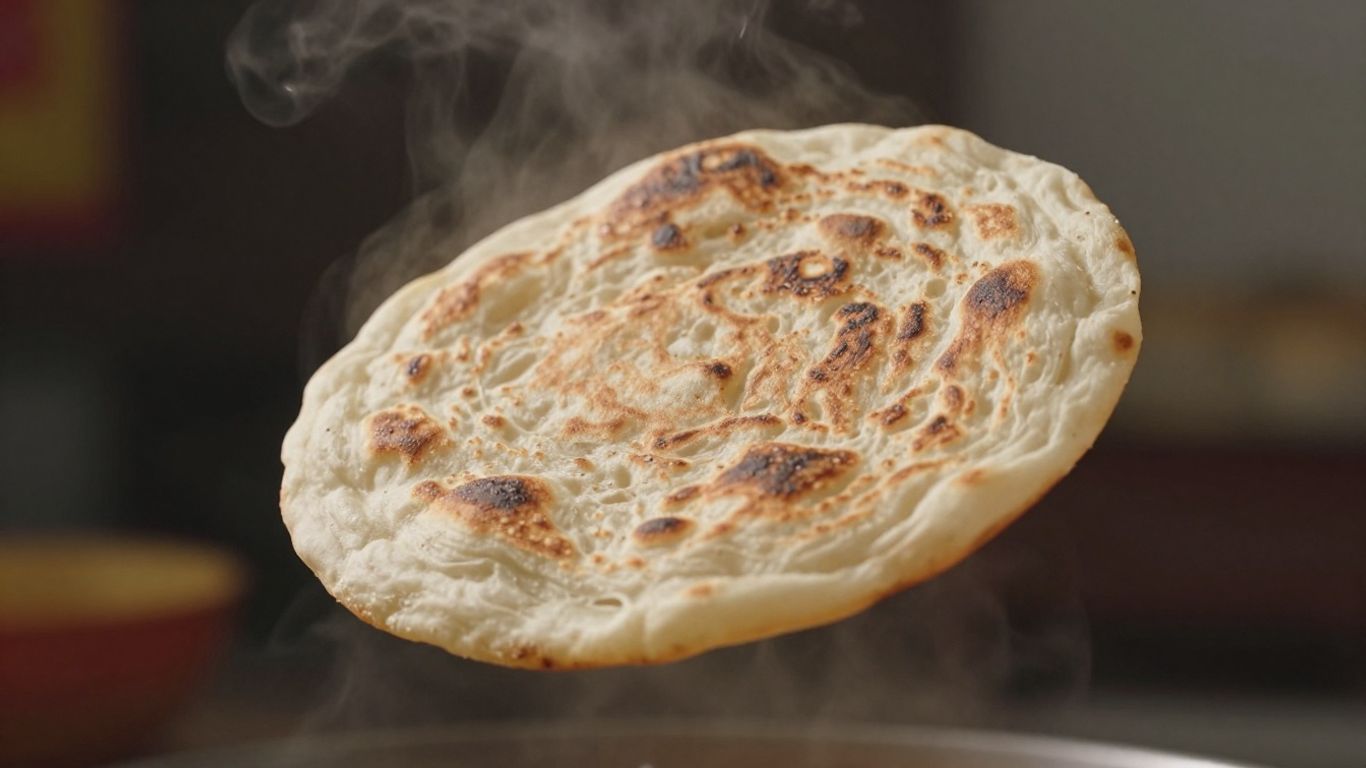
The Art Of Puffing Rotis On The Flame
This is that dramatic final step that gives rotis their signature puff. Here’s a quick breakdown:
- When both sides have slight golden spots, use tongs to pick up the roti.
- Place it directly over medium flame for 2–4 seconds. You should see the roti swell up almost immediately.
- If a section hasn’t puffed, carefully move that part to the flame or press it lightly with a clean cloth.
- Keep the direct flame at medium; if it’s too high, you risk tearing or burning.
- Rotis should puff up fast—don’t leave them too long or they’ll become dry.
The difference between a flat, chewy roti and one that’s soft and puffy often comes down to how confident you are with the tawa and flame—practice really does make perfect.
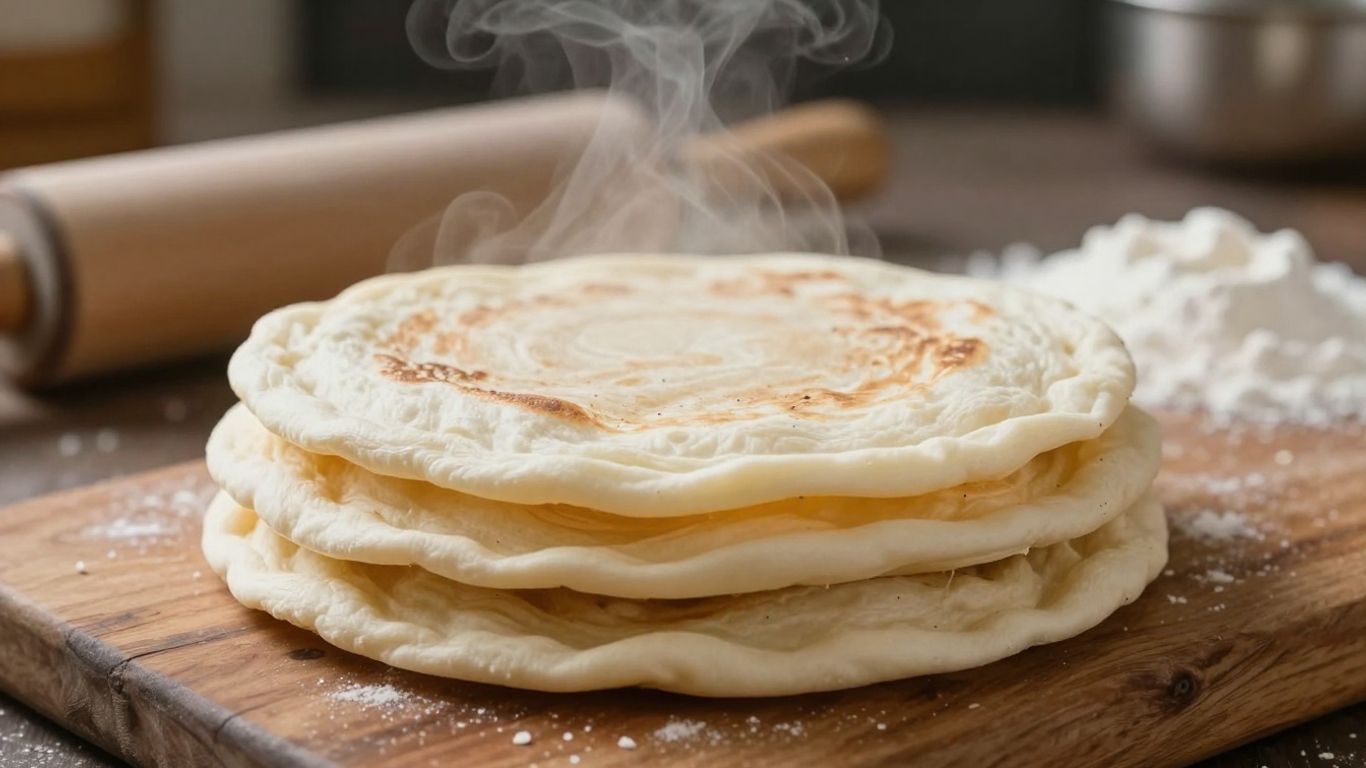
After they’re cooked and puffed, stack your rotis and cover them with a towel to trap heat and keep them soft until ready to eat. That quick ritual makes a surprising difference, especially if you’re cooking for a group.
Enhancing Softness And Flavor
Adding Oil Or Ghee For Richness
So, you’ve got your dough just right and your rotis are puffing up nicely. That’s awesome! But we can take them up another notch. Adding a little bit of fat, like oil or ghee, right into the flour before you add water can make a surprising difference. It’s not just about making them taste richer, though that’s a nice bonus. This fat actually helps the flour absorb moisture better and keeps the roti from drying out too fast when you cook it. Think of it like a little shield for your roti.
Here’s a quick guide on how much to consider:
- For a softer bite: Use about 1 teaspoon of oil or ghee for every cup of flour.
- For a richer flavor: You can go up to 2 teaspoons, but don’t overdo it, or they might get a bit greasy.
- For a lighter touch: Even half a teaspoon can help.
Just mix the fat into the dry flour until it looks crumbly, then add your water. It makes the dough feel smoother and the final roti stays soft for longer.
Storing Rotis To Maintain Freshness
Okay, so you’ve made a batch of perfect rotis. What happens if you have leftovers? You don’t want them turning into hard discs by morning, right? The trick is to trap that warmth and moisture.
Here’s what I usually do:
- Stack ’em up: As soon as a roti is cooked, place it on top of the previous one. Don’t let them cool down completely in the open air.
- Wrap ’em tight: Once you have a small stack (maybe 4-5 rotis), wrap them in a clean kitchen towel or a cloth napkin. This absorbs any extra steam without making them soggy.
- Containerize: Then, put the wrapped stack into an airtight container or a zip-top bag. This double layer of protection is key.
Storing them this way helps keep the steam trapped, which is what keeps the rotis soft and pliable. If you’re planning to keep them for more than a day, refrigerating them is the way to go, but always warm them up a bit before serving to bring back that fresh-baked feel.
This method works wonders for keeping rotis soft for a good 2-3 days. If you need them to last even longer, like for a trip or just stocking up, you can freeze them. Just make sure they are completely cool before wrapping and freezing. When you’re ready to eat, just reheat them gently. They’ll be surprisingly close to fresh.
Wrapping Up: Soft Rotis Are Totally Doable
So, there you have it. Making soft, fluffy rotis isn’t some secret art—just a mix of good habits and a little patience. The right flour, enough water, and a bit of oil can make all the difference. Don’t rush the kneading, and let the dough rest if you can. Rolling them out evenly and using a hot pan (not too hot, though) really helps. And if your rotis don’t puff up perfectly the first few times, don’t stress—it happens to everyone. Stack them up and cover them with a towel to keep them warm and soft. If you want to save some for later, just wrap them up and freeze or refrigerate. With a bit of practice, you’ll be making rotis that everyone at the table will reach for first. Happy cooking!
Frequently Asked Questions
Why do my rotis turn hard instead of soft?
Hard rotis usually happen when they lose too much moisture. Make sure your dough has the right amount of water and isn’t too dry. Also, don’t overcook them, as that can make them tough. Adding a little oil or ghee can help keep them soft.
How can I make my rotis puff up nicely?
Getting rotis to puff up is all about the heat and moisture. Make sure your pan is hot enough before you put the roti on it. Cooking the first side for a short time, then flipping and cooking the other side, and finally puffing it on the flame helps trap steam inside, making it puff up like a balloon. If it doesn’t puff on its own, you can gently press it with a spoon or tongs.
How should I store rotis so they stay soft?
To keep rotis soft after cooking, stack them on top of each other right away and cover them with a clean kitchen towel. This traps the steam and keeps them from drying out. For longer storage, you can wrap them in aluminum foil or place them in an airtight container for a week, or freeze them in a polybag for longer periods.