
Making roti at home can seem a bit tricky, especially if you’re aiming for that super soft texture. You know, the kind that’s light, fluffy, and doesn’t feel like cardboard. Well, I’ve been there, and let me tell you, it’s totally doable! After a lot of attempts, I’ve figured out a few things that make a big difference. It’s mostly about getting the dough just right and then cooking it properly. So, let’s get into how to make roti softer.
Key Takeaways
- Getting the dough consistency right is super important for soft rotis. It should be soft and pliable, not too tight or too sticky. Kneading it well, maybe with warm water, helps a lot.
- Letting the dough rest for about 20 to 30 minutes after kneading is a game-changer. This step relaxes the dough, making it easier to roll and leading to softer rotis.
- Cooking the roti on a hot pan and then briefly over a flame helps it puff up. If you don’t have a flame, gently pressing with a cloth on the pan can also work. Brushing with ghee right after cooking keeps them soft.
Mastering the Dough for Soft Roti
The Importance of Dough Consistency
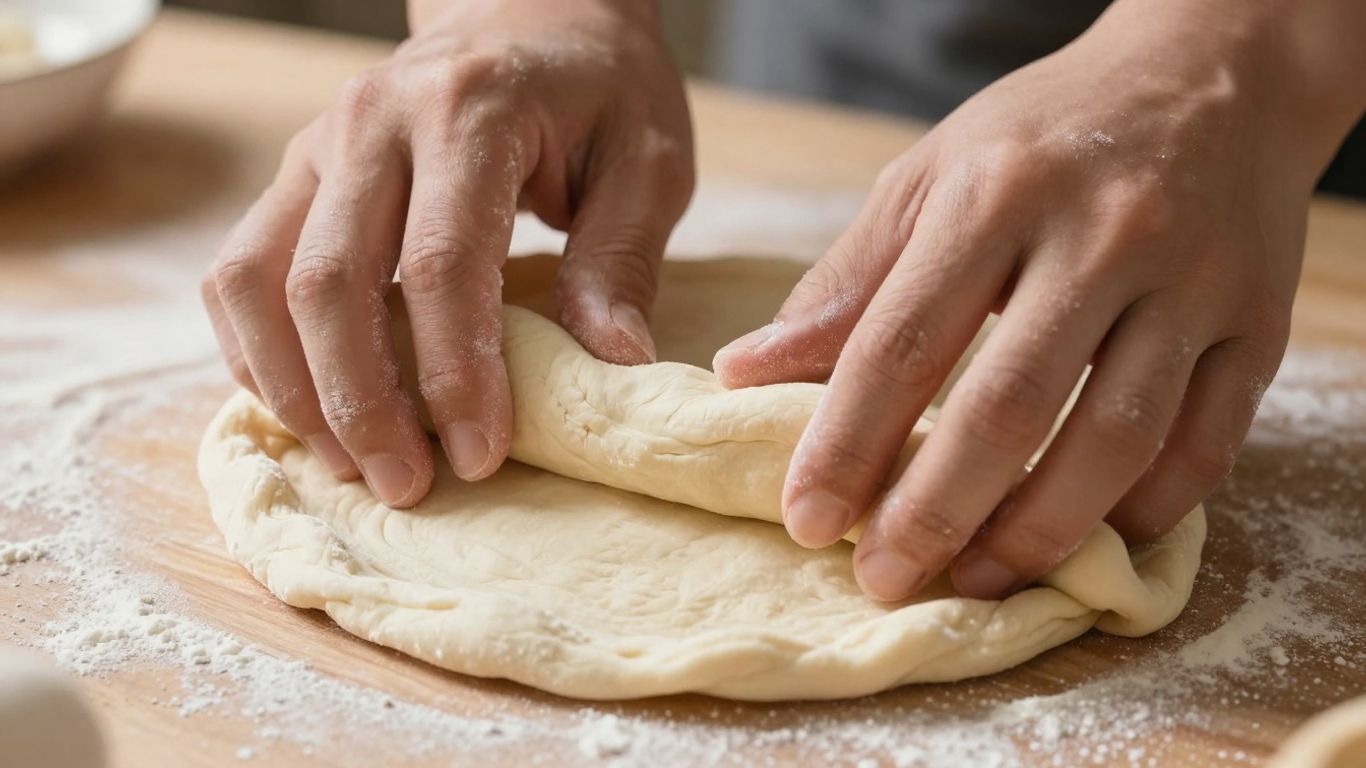
Getting the dough right is honestly half the battle when it comes to soft rotis. If your dough is too stiff, you’ll end up with tough, cracker-like flatbreads that just won’t soften up, no matter what you do. On the flip side, a dough that’s too sticky is a nightmare to roll out and will likely result in unevenly cooked rotis. The sweet spot is a dough that’s soft, pliable, and smooth to the touch. It should feel slightly yielding when you press it with your finger, leaving a gentle indentation. This consistency allows the gluten to relax properly, which is key for that tender texture and the magical puff we all love.
Kneading Techniques for Pliability
Kneading isn’t just about mixing ingredients; it’s about developing the gluten structure in the flour. For soft rotis, you want a well-developed but not overly tight gluten network. Start by gradually adding water to your flour and salt (and maybe a touch of oil or ghee if you like, though it’s not strictly necessary). Mix until it just comes together, then begin kneading. Use the heels of your hands and your knuckles to really work the dough. Push, fold, and turn it repeatedly. If the dough feels too firm, add water a teaspoon at a time. If it’s too sticky, sprinkle in a little more flour. Keep going for about 5-7 minutes until the dough is smooth and elastic. A rested dough is a happy dough, so once you’re done kneading, cover it with a damp cloth or plastic wrap and let it sit for at least 20 to 30 minutes. This resting period is super important; it lets the gluten relax, making the dough much easier to roll and contributing to softer rotis.
Here’s a quick rundown of what to aim for:
- Texture: Soft, smooth, and pliable.
- Feel: Yields to pressure, leaving an impression.
- Stickiness: Should not stick to your hands or the work surface.
- Appearance: Uniform and free of dry patches.
Don’t rush the kneading process. It might seem like a lot of work, but putting in that extra effort upfront makes a huge difference in the final texture of your rotis. Think of it as giving the flour time to hydrate and the gluten strands to form that perfect, stretchy network.
The Art of Cooking for Ultimate Softness
Alright, so you’ve got your dough all nice and ready. Now comes the part where we actually turn that dough into soft, fluffy rotis. It’s not just about slapping it on a pan; there’s a bit of technique involved to get that perfect puff and keep them from getting hard.
Achieving the Perfect Puff
Getting a roti to puff up like a little balloon is super satisfying, and it’s a good sign that it’s cooking evenly and will be soft inside. Here’s how to get there:
- Get Your Tawa Hot: This is probably the most important thing. Your flat griddle, or tawa, needs to be properly hot before the roti even touches it. Medium-high heat is usually the sweet spot. If it’s not hot enough, the roti will just sit there and dry out instead of steaming and puffing.
- Cook in Stages: Don’t just slap it on and wait. Cook one side until you see small bubbles forming on the surface. Then, flip it. Cook the second side until you see more bubbles and some light golden spots start to appear. This initial cooking helps set the structure.
- The Flame Trick (or Skillet Press): This is where the magic happens for the puff. If you have a gas stove, carefully use tongs to lift the roti off the tawa and hold it directly over the open flame for a few seconds. It should start to puff up. If you don’t have a gas stove, don’t worry! You can often achieve a similar result by gently pressing around the edges of the roti on the hot tawa with a clean kitchen towel or a flat spatula. This traps the steam inside and encourages it to puff.
Remember, even thickness in your rolled roti is key. If one part is thicker than another, it won’t puff evenly, and you might end up with a half-inflated roti. Practice makes perfect here!
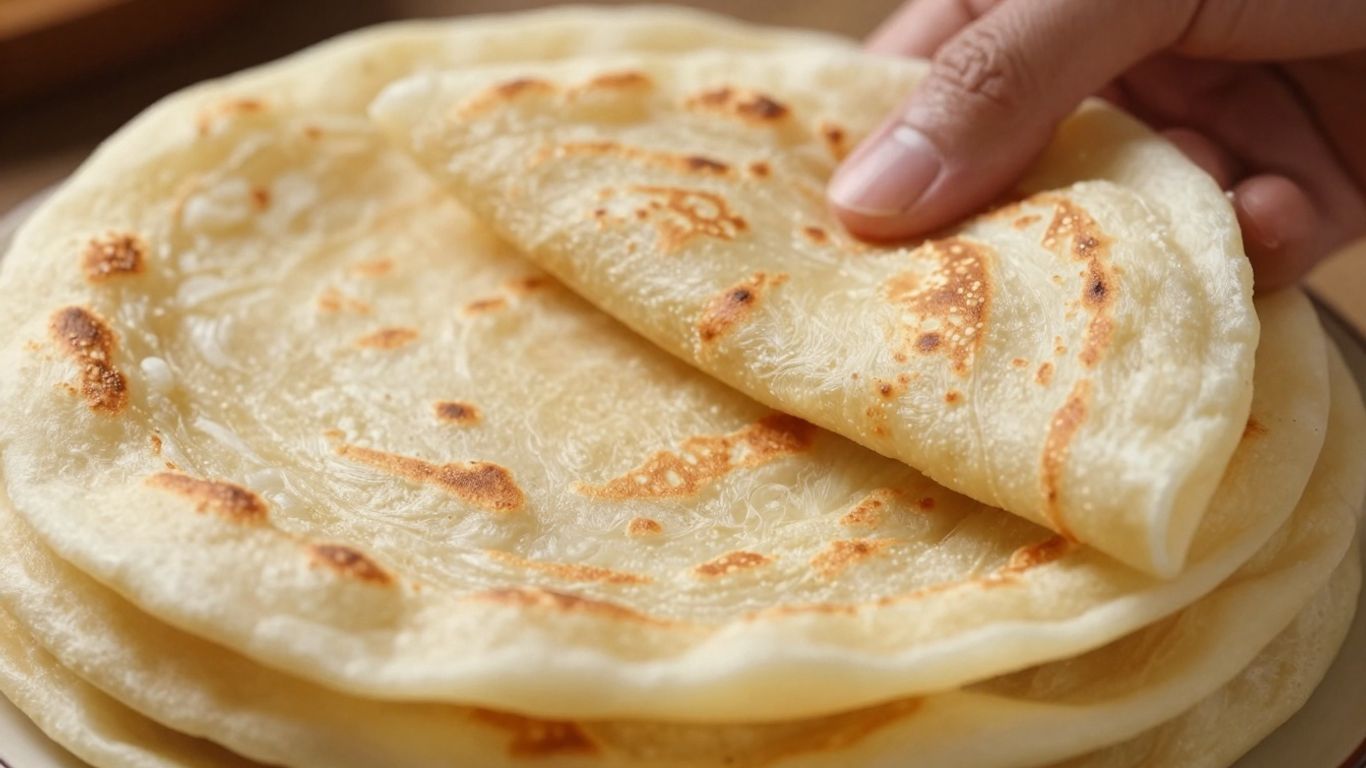
Keeping Your Rotis Soft After Cooking
Even the best-cooked roti can turn hard if you don’t store it right. Nobody wants a tough roti, right?
- Ghee is Your Friend: As soon as the roti is off the heat, give it a quick brush with some melted ghee or butter. This adds flavor and, more importantly, helps seal in moisture, keeping it soft.
- Stack and Wrap: The best way to keep them soft is to stack them up in a clean kitchen towel or a roti basket. The towel traps the residual steam from the hot rotis, creating a steamy environment that keeps them pliable.
- Serve Warm: Rotis are always best when they’re fresh and warm. If you’re making a big batch, try to serve them as they come off the tawa, or keep them wrapped in the towel until you’re ready to eat. They’ll stay soft for a good hour or so this way.
Enjoy Your Soft, Homemade Rotis!
So there you have it. Making really soft rotis isn’t some big mystery. It really just comes down to a few simple things: getting that dough just right, letting it rest, and cooking it properly. Don’t get discouraged if your first few don’t puff up perfectly or aren’t as soft as you hoped. Like anything, it takes a little practice. Keep at it, and soon you’ll be whipping up delicious, pillowy rotis that your family will love. Happy cooking!
Frequently Asked Questions
What’s the secret to making roti dough super soft?
The key is to make a dough that’s soft and easy to work with, not too stiff. If it feels hard, add a tiny bit of water. If it’s too sticky, add a little flour. Kneading it well with warm water and letting it rest for about 20-30 minutes after kneading makes a big difference!
Why won’t my roti puff up when I cook it?
Usually, this happens if the roti isn’t rolled out evenly. Make sure the thickness is the same all over, with no super thin edges or thick spots. Also, if the dough was too stiff or had tiny holes, it might not puff. A well-rested, soft dough rolled evenly is your best bet for a good puff!
How can I keep my rotis soft after cooking?
Right after cooking, brush them with a little ghee or butter. Then, stack them up and wrap them in a clean kitchen towel. This traps the steam and keeps them wonderfully soft until you’re ready to eat them.