Ever wanted to make that delicious paneer tikka you get at restaurants, but figured it was too complicated for home? Well, think again! Making paneer tikka in the oven is actually pretty straightforward. Forget the fancy tandoor; your oven can do a pretty great job. We’ll walk you through how to get those tasty, slightly charred pieces right in your own kitchen. It’s easier than you think, and the results are totally worth it.
Key Takeaways
- Using thick yogurt is important so the marinade sticks well to the paneer and veggies.
- Preheating your oven to a high temperature, around 450°F, is key for getting that nice char.
- Don’t skip the broiling step at the end for a couple of minutes to get those perfect smoky, browned edges.
Preparing Your Paneer Tikka Ingredients
Getting your ingredients ready is the first step to making some really tasty paneer tikka. It’s not complicated, but paying attention to a few things makes a big difference.
Selecting the Right Paneer and Yogurt
When you’re picking out paneer, look for a block that feels firm but not too hard. You want it to hold its shape when you cut it into cubes, usually about an inch big. If you can’t find pre-made paneer, you can make your own, but that’s a whole other adventure! For the marinade, the yogurt is super important. You need thick yogurt, like Greek yogurt, or you can strain regular plain yogurt in a cheesecloth for a couple of hours until most of the water is gone. This makes sure the marinade sticks well to the paneer and veggies, instead of just running off.
Essential Spices for Authentic Flavor
The spices are what give paneer tikka its signature taste. You’ll need a few key players:
- Kashmiri Red Chili Powder: This gives a lovely color without making it too spicy. If you can’t find it, paprika is a decent substitute.
- Coriander Powder: Adds a warm, earthy flavor.
- Garam Masala: This is a blend of spices, and a good quality one really makes a difference.
- Chaat Masala: This is a bit tangy and salty, and it’s great sprinkled on top at the end for an extra kick.
- Kasuri Methi (Dried Fenugreek Leaves): Crushing these between your palms before adding them releases their aroma. If you don’t have them, it’s okay to skip, but they do add a nice touch.
Don’t be afraid to adjust the spice levels to what you like. If you prefer things milder, use less chili powder. If you love heat, add a pinch more!
Here’s a quick rundown of what you’ll generally need for the marinade:
| Ingredient | Amount (approx.) | Notes |
|---|---|---|
| Thick Yogurt | 1/2 cup | Greek yogurt or strained plain yogurt |
| Besan (Chickpea Flour) | 1/4 cup | Helps thicken the marinade |
| Ginger Garlic Paste | 1/2 tablespoon | Fresh is best |
| Kashmiri Red Chili | 2 teaspoons | For color and mild heat |
| Coriander Powder | 1 tablespoon | |
| Chaat Masala | 1 teaspoon | For tanginess |
| Garam Masala | 1/2 teaspoon | Warm spice blend |
| Kasuri Methi | 1 teaspoon | Crushed |
| Salt | To taste |
Mastering the Art of Making Paneer Tikka in the Oven
So, you’ve got your paneer and veggies prepped, and the marinade is looking good. Now comes the fun part: getting that delicious tikka cooked to perfection right in your own oven. It’s not as tricky as it sounds, honestly. The key is getting your oven nice and hot and giving the paneer just enough time to cook without drying out.
Marinating for Maximum Taste
This is where all the flavor really sinks in. You want that marinade to cling to every piece of paneer and those colorful veggies. A thick yogurt base is your best friend here; if your yogurt is a bit thin, just let it drain in a cheesecloth for an hour or two. This makes sure the spices stick instead of pooling at the bottom of the bowl.
Here’s a quick rundown of what goes into that magical marinade:
- Thick Yogurt: The creamy base that holds everything together.
- Spice Blend: Turmeric, red chili powder (for color and a little kick), coriander powder, and garam masala are your go-to spices. Don’t forget ginger-garlic paste!
- Fresh Herbs: A bit of chopped mint adds a nice freshness.
- Salt: To bring all those flavors to life.
Mix it all up until it’s smooth, then gently toss in your cubed paneer and veggies. Let them hang out in the marinade for at least 30 minutes, but if you have the time, a couple of hours in the fridge is even better. This gives the spices a chance to really work their magic.
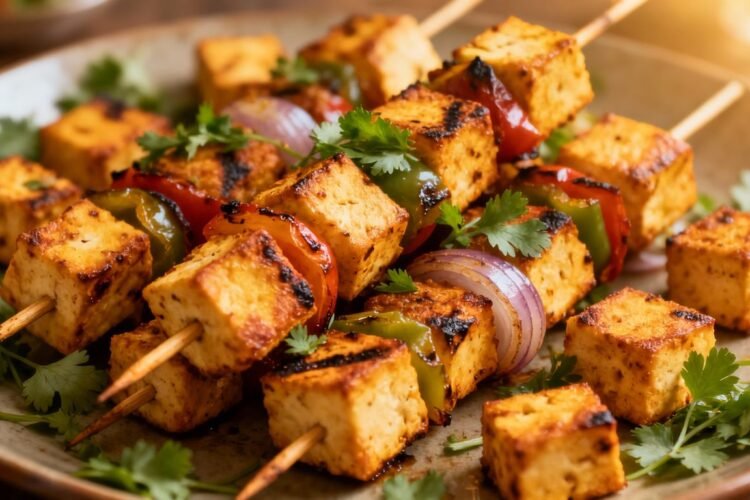
Achieving the Perfect Char in the Oven
Getting that slightly smoky, charred look is what makes paneer tikka look and taste so good. It’s all about high heat and a quick cook.
- Preheat Your Oven: Crank that oven up to 450°F (230°C). A hot oven is super important for getting that nice sear.
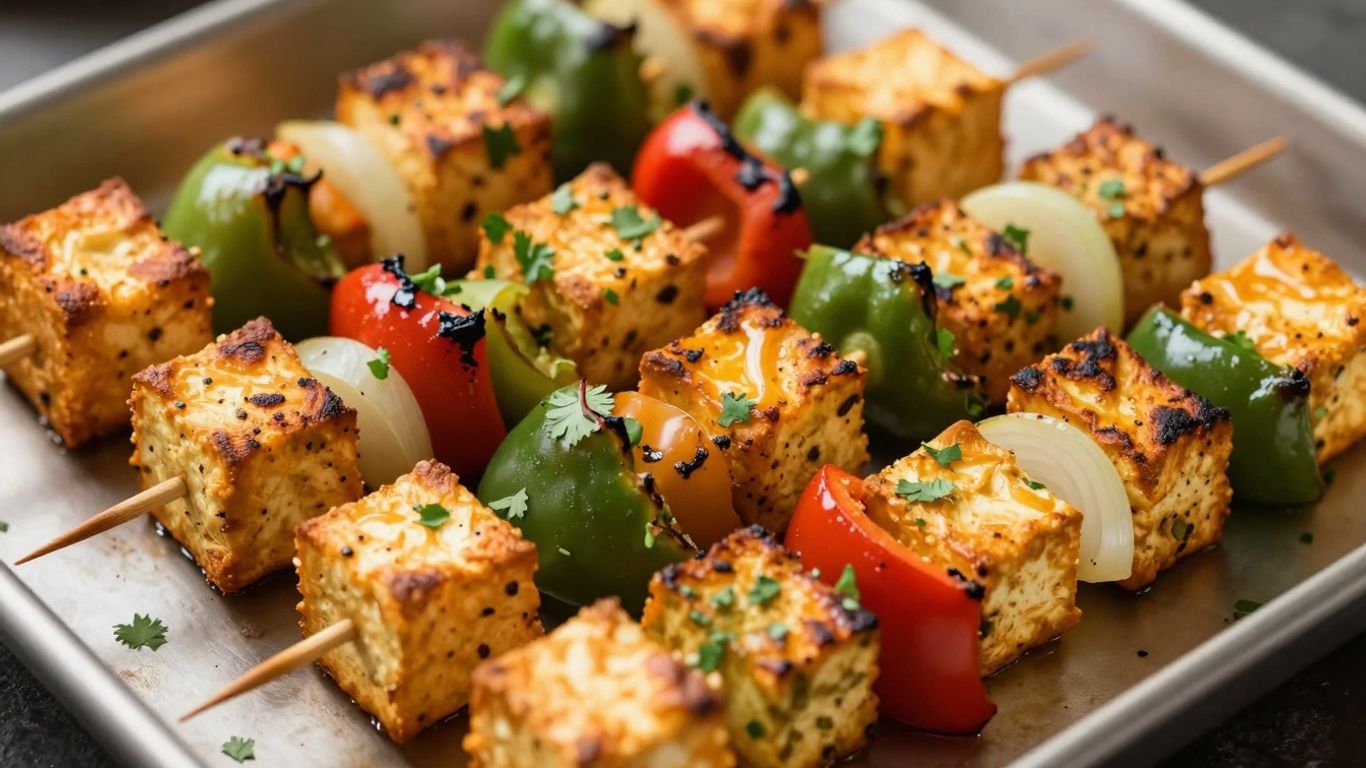
- Prep Your Baking Sheet: Line a baking sheet with parchment paper or foil. Trust me, this makes cleanup way easier. You don’t want to be scrubbing burnt marinade off your pan!
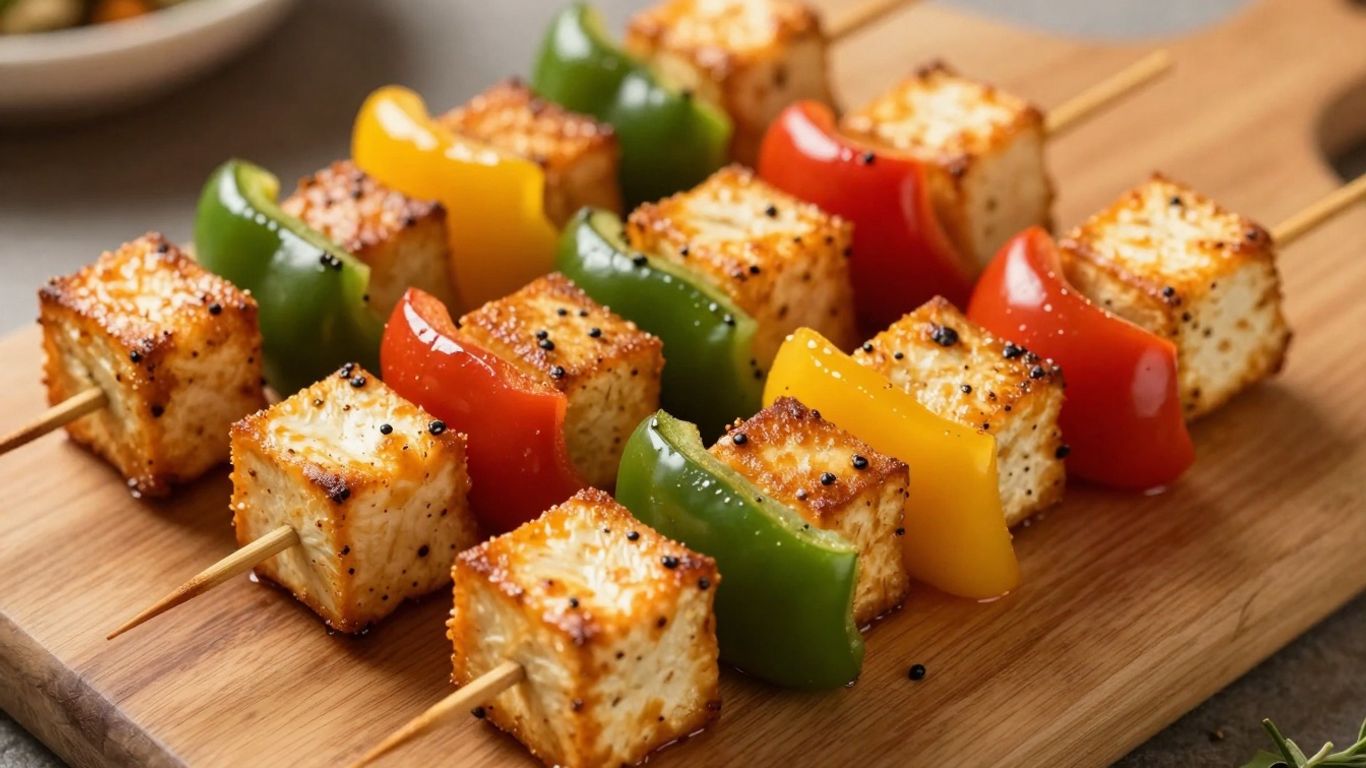
- Arrange the Tikka: Spread your marinated paneer and veggie cubes in a single layer on the prepared baking sheet. Don’t overcrowd the pan; give them a little space so they cook evenly.
- Bake and Broil: Pop the tray into the hot oven and bake for about 8-10 minutes. Then, switch your oven to the broil setting for another 2-3 minutes. Keep a close eye on it during the broil phase – you want those nice browned edges, not burnt bits!
Once it’s out of the oven, a little squeeze of fresh lemon juice right before serving makes a world of difference. It adds a bright, zesty finish that cuts through the richness of the marinade and really makes the flavors pop.
Serve your oven-baked paneer tikka hot, maybe with some mint chutney or a side of sliced onions. Enjoy!
Enjoy Your Effortless Paneer Tikka!
So there you have it – delicious paneer tikka, made right in your own oven. It’s pretty amazing how you can get that restaurant-style flavor without all the fuss of a tandoor. Remember to use thick yogurt for the best marinade, and don’t be shy with that squeeze of lemon at the end; it really makes a difference. Whether you’re serving it as an appetizer for a party or just making a tasty weeknight meal, this recipe is a winner. Give it a try, and enjoy your homemade paneer tikka!
Frequently Asked Questions
What kind of paneer is best for tikka?
For the best paneer tikka, use firm paneer that’s not too soft. If your paneer feels a bit crumbly, it’s perfect. If it’s too soft, it might break apart during cooking. You can find good paneer at Indian grocery stores or even make your own!
How long should I marinate the paneer?
Marinating is key for flavor! You can marinate the paneer for at least 30 minutes, but for an even tastier result, let it soak in the marinade for 2 hours or even overnight in the fridge. This really helps the spices sink in.
Can I make paneer tikka without an oven?
Yes, you absolutely can! If you don’t have an oven, you can cook paneer tikka on a stovetop. Just heat a pan with a little oil and cook the marinated paneer and veggies until they are golden brown on all sides. You can also use an air fryer if you have one.