Making your own roti at home can seem a bit tricky, but honestly, it’s way simpler than you might think. This simple roti recipe is perfect for beginners and will help you get that soft, delicious Indian flatbread every time. Forget store-bought; you’ll be whipping these up in no time to go with your favorite meals.
Key Takeaways
- This simple roti recipe uses just a few basic ingredients, making it accessible for anyone to try at home.
- Getting the dough consistency just right is important for soft, pliable rotis that aren’t tough.
- Proper cooking and a quick steam at the end are the secrets to keeping your homemade roti soft and fresh.
Mastering The Simple Roti Recipe
Understanding The Essential Ingredients
Making great roti isn’t about fancy ingredients; it’s really about getting the basics right. At its heart, roti is just whole wheat flour and water. That’s it. The flour you use matters, though. Most people in India use ‘atta’ flour, which is a finely ground whole wheat flour. It gives roti a slightly nutty flavor and a good texture. If you can’t find atta, a good quality whole wheat flour from your local grocery store will work just fine. Some folks like to add a pinch of salt for a little extra flavor, and honestly, I do too. It just makes the roti taste a bit more interesting on its own. You can skip it if you’re serving it with something really flavorful, but I find it adds a nice touch.
Here’s a quick rundown:
- Whole Wheat Flour (Atta): The star of the show. About 2 cups is a good starting point for a few rotis.
- Water: You’ll need this to bring the flour together. Start with about 2/3 cup, but you might need a little more or less.
- Salt (Optional): Just a pinch, maybe 1/2 teaspoon, to bring out the flavor.
That’s really all there is to it. No weird stuff, no complicated additions. Just simple, good ingredients.
Achieving The Perfect Dough Consistency
Getting the dough right is probably the most important step for soft, pliable rotis. If your dough is too stiff, your rotis will be tough. If it’s too sticky, well, that’s a mess. The goal is a dough that’s soft, smooth, and easy to work with. It should feel like your earlobe – soft but not sticky.
Here’s how to get there:
- Mix the Flour and Water: Start by mixing your flour and salt (if using) in a bowl. Gradually add the water, mixing as you go. You don’t want to dump all the water in at once. Add just enough until the flour starts to come together into a shaggy mass.
- Knead, Knead, Knead: This is where the magic happens. Turn the dough out onto a lightly floured surface. Knead it for about 5-8 minutes. Use the heels of your hands to push the dough away from you, then fold it back over. Keep doing this until it becomes smooth and elastic. If it feels too dry, wet your hands slightly and keep kneading. If it’s too sticky, add a tiny bit more flour.
- Let it Rest: This step is non-negotiable. Once your dough is smooth and feels good, shape it into a ball. Place it back in the bowl, cover it with a damp kitchen towel or plastic wrap, and let it sit for at least 20-30 minutes. This resting period lets the gluten relax, making the dough much easier to roll out and resulting in softer rotis.
The dough should feel soft and pliable after kneading. When you press it with your finger, it should leave an indentation that slowly springs back. If it feels tight, add a teaspoon of water and knead again. If it’s too sticky, add a teaspoon of flour and knead. Patience here really pays off for the final texture of your roti.
After resting, the dough will be even more smooth and easy to handle. You’re now ready to move on to rolling and cooking!
Cooking Your Homemade Roti
Alright, so you’ve got your dough ready, rested, and divided. Now comes the fun part: turning those little dough balls into warm, fluffy flatbreads. It’s not complicated, but there are a few tricks to get it just right.
The Art Of Rolling And Cooking
First things first, get your cooking surface ready. A cast iron skillet or a good non-stick pan works great. You want to heat it over medium to medium-high heat. The pan needs to be hot enough that the roti starts cooking right away, but not so hot that it burns in seconds. If the pan is too cool, the roti won’t puff up properly, and if it’s scorching hot, it’ll burn before it cooks through, which can lead to tears and a tough texture. It might take a little experimenting to find that sweet spot on your stove.
Once the pan is hot, take one of your dough balls. On a lightly floured surface, flatten it with your palm, then use a rolling pin to roll it out into a thin circle, about 6 to 7 inches across. Don’t go too thin, or it might burn and tear. You’re aiming for an even thickness.
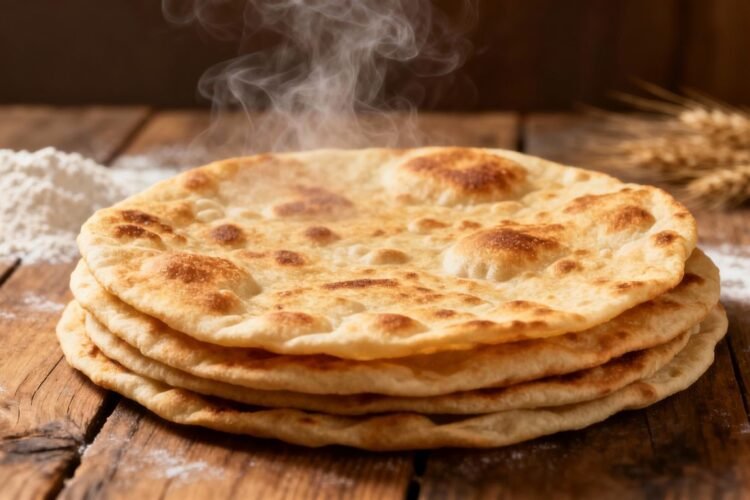
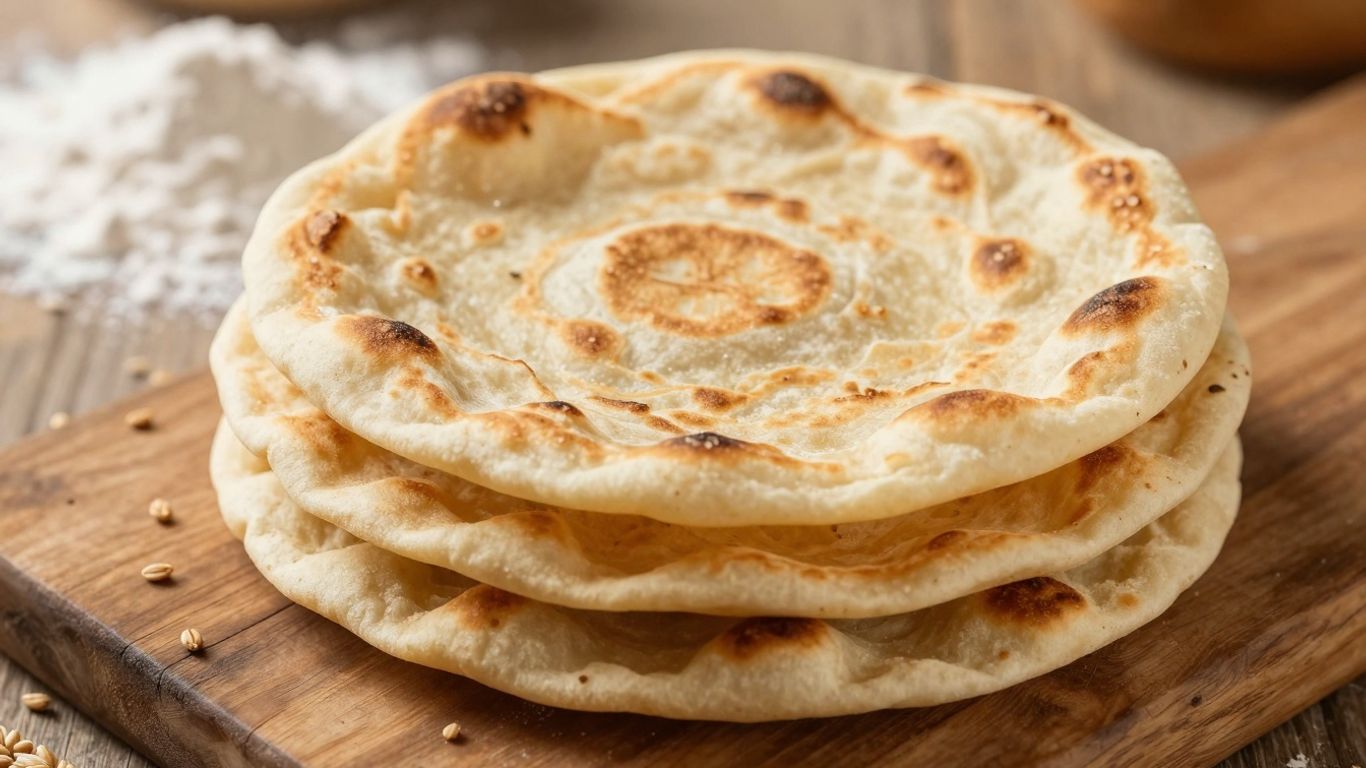
Carefully place the rolled-out dough onto the hot pan. You should see it start to cook and bubble within about 30 seconds. Flip it over. This is often when the magic happens – the roti should start to puff up like a little balloon! If it doesn’t puff, don’t worry too much. You can gently press around the edges with a spatula or a clean kitchen cloth; sometimes, this helps trap the steam inside and encourages it to puff.
Cook the second side for another minute or two until you see nice golden-brown spots. Then, flip it back for just another 20-30 seconds. The whole process on the pan usually takes under two minutes per roti.
Here’s a quick rundown:
- Heat your pan to medium-high.
- Roll dough into a thin, even circle.
- Cook first side for about 30 seconds until bubbles appear.
- Flip and cook second side until puffed and browned (about 1-2 minutes).
- Flip back for a final 20-30 seconds.
Ensuring Softness Through Steaming
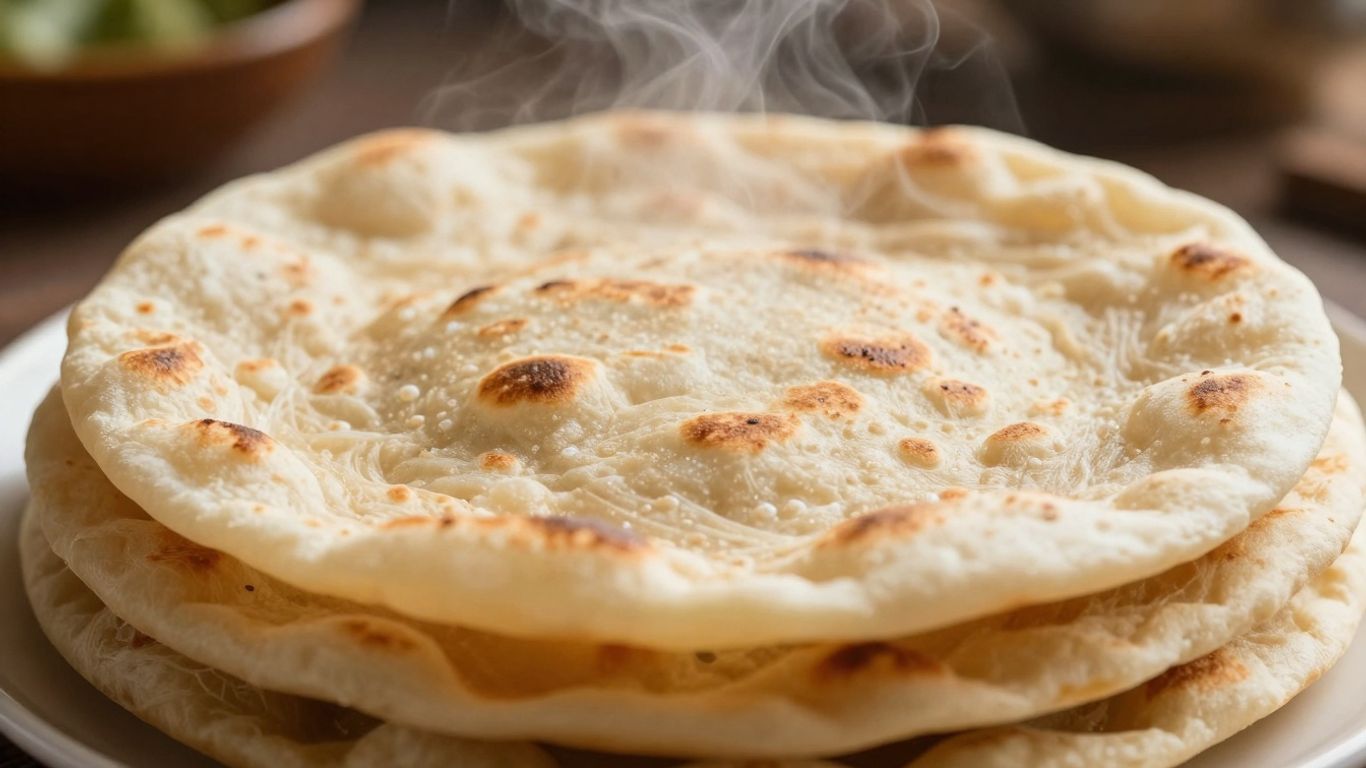
This step is a game-changer for super soft rotis. As soon as a roti is done cooking, take it off the pan. You can brush it with a little ghee or butter if you like, though it’s totally optional. Then, you need to trap that steam.
The best way to keep your rotis soft is to steam them right after cooking. This traps the moisture and makes them wonderfully pliable. Don’t skip this part if you want that melt-in-your-mouth texture.
Here’s how to do it:
- Stack and Cover: Place the hot roti on a plate and immediately cover it with a clean kitchen towel. As you cook the next roti, stack it on top of the previous one, always keeping them covered.
- Use a Warmer: If you have a roti warmer, that’s perfect. Just place the cooked rotis inside, and it will keep them warm and soft.
- Bag Method: For a quick fix, you can place the rotis inside a large zip-top bag lined with a paper towel. Seal it loosely. The steam will collect inside, keeping the rotis soft.
Serve your rotis hot with your favorite curry or dal. If you have leftovers, store them in an airtight container or bag. You can reheat them on a dry pan to bring back their softness.
Enjoy Your Homemade Roti!
So there you have it! Making your own roti at home is really not that complicated, is it? With just a few basic ingredients and a little bit of practice, you can whip up these soft, delicious Indian flatbreads anytime you want. They’re perfect for scooping up your favorite curry or just enjoying on their own. Don’t be discouraged if your first few aren’t perfectly round or don’t puff up right away – that’s totally normal. Keep at it, and soon you’ll be making perfect roti like a pro. Happy cooking!
Frequently Asked Questions
What’s the best flour to use for roti?
You can use whole wheat flour, which is what’s traditionally used. If you can find ‘atta’ flour, which is a finely ground whole wheat flour from India, that’s even better! It gives the roti a softer texture and a nice nutty taste. If you only have regular all-purpose flour, that can work too, but the roti might be a little less chewy.
Why are my rotis not puffing up when I cook them?
There are a few reasons this might happen! Make sure your dough isn’t too dry or too wet. Also, rolling the roti evenly and not too thick is key. Sometimes, letting the dough rest a bit longer helps. When cooking, getting those little golden-brown spots on both sides before putting it over direct heat is important for a good puff.
How do I keep my roti soft after cooking?
The best trick is to steam them right after they come off the pan! You can stack them inside a clean kitchen towel or a paper towel-lined bag. This traps the steam and keeps them nice and soft, so they don’t get hard or dry as they cool down.