
Making your own roti at home might seem a bit daunting, but honestly, it’s way simpler than you think. Forget those store-bought versions; there’s nothing quite like a warm, soft, homemade flatbread. This simple roti recipe is perfect for beginners and will have you whipping up fluffy rotis in no time. We’ll walk through everything you need to know to get that perfect puff and soft texture every single time.
Key Takeaways
- The dough needs to be soft and pliable, not stiff. Kneading it well and letting it rest is super important for easy rolling and a good puff.
- Roll your rotis to an even thickness. This helps them cook evenly and puff up nicely on the heat.
- The cooking temperature is key. A medium-high heat on your pan is ideal, and finishing it on an open flame (if you have one) really helps it puff up.
Crafting The Perfect Roti Dough
Essential Ingredients For Your Simple Roti Recipe
Making great roti starts with just a few simple things. You really don’t need much, which is part of why it’s so great. The main player here is whole wheat flour, often called ‘atta’ in Indian cooking. It’s what gives roti its slightly nutty flavor and hearty texture. You’ll also need water, and I find using warm water helps the dough come together nicely. A little bit of salt is good for flavor, too. That’s pretty much it! Some people like to add a bit of oil or even milk to the dough, but honestly, I’ve found that keeping it simple with just flour, water, and salt makes for the lightest, puffiest rotis. Adding oil can sometimes make them a bit heavy, which isn’t what we’re going for here.
Here’s a quick rundown:
- Whole Wheat Flour (Atta): About 2 cups is a good starting point for a batch.
- Water: Warm water works best, start with about 3/4 cup and add more as needed.
- Salt: Just a pinch, maybe 1/2 teaspoon, for taste.
Achieving The Ideal Dough Consistency
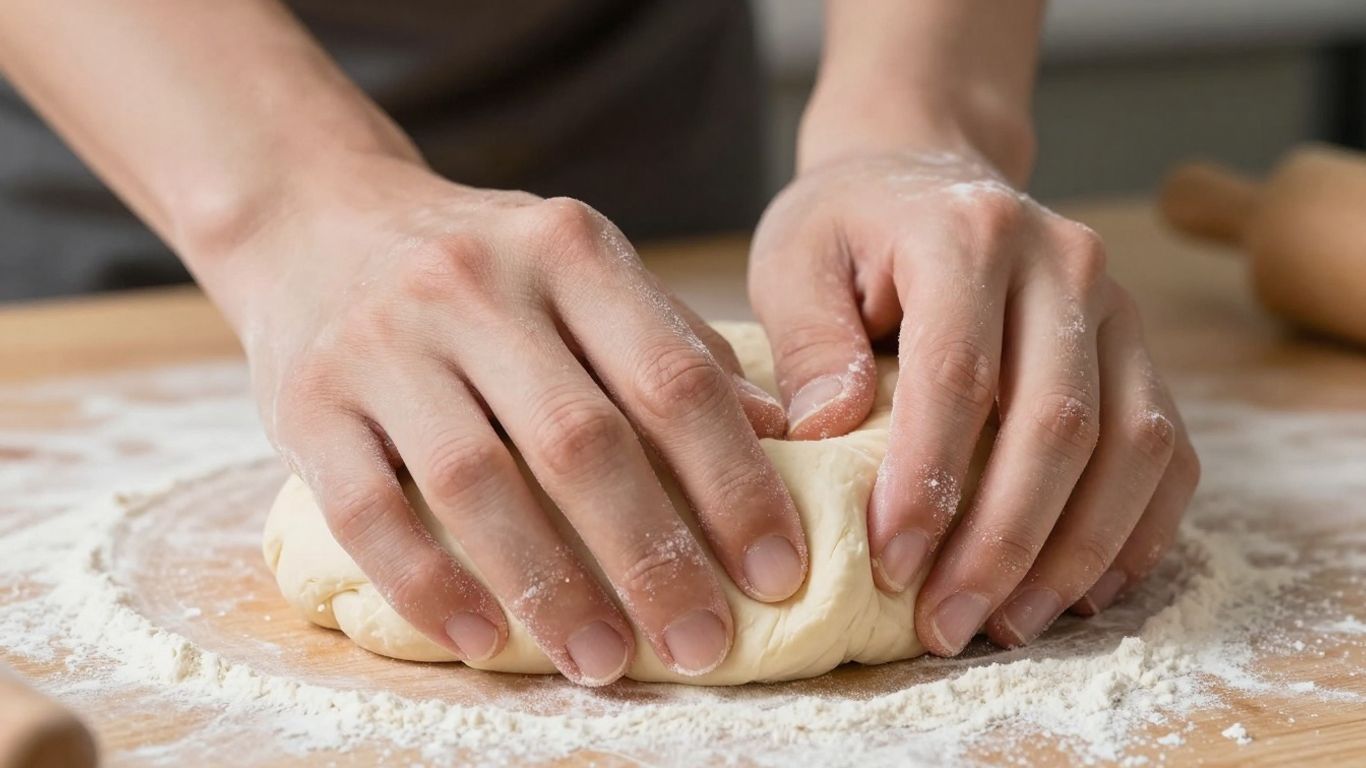
Getting the dough just right is probably the most important step for soft, fluffy rotis. It’s not super complicated, but it does take a little feel. You want a dough that’s soft and pliable, not too sticky and definitely not too stiff. Think of it like play-doh, but a little less sticky.
Here’s how to get there:
- Mixing: Start by mixing your flour and salt in a bowl. Then, gradually add the warm water, mixing with your hands until a shaggy dough starts to form. Don’t dump all the water in at once; you can always add more, but it’s harder to take it out.
- Kneading: This is where the magic happens. Turn the dough out onto a lightly floured surface or keep it in the bowl if you’re using a stand mixer. Knead it for about 5-8 minutes. You’re looking for a smooth, elastic texture. If it feels too dry and stiff, add a teaspoon of water at a time. If it’s too sticky, add a tiny bit of flour. The dough should feel soft and spring back slightly when you poke it.
- Resting: Once you’ve got that perfect consistency, cover the dough with a damp cloth or plastic wrap and let it rest for at least 20 to 30 minutes. This resting period is super important. It lets the gluten relax, making the dough easier to roll out and resulting in softer rotis.
The dough should feel soft and smooth to the touch. When you press it with your finger, it should leave a slight indentation that slowly springs back. This tells you it’s ready for rolling.
Mastering The Roti Cooking Process
Alright, so you’ve got your dough ready, all soft and smooth. Now comes the fun part: turning those little dough balls into warm, fluffy flatbreads. It’s not super complicated, but there are a few things to get right.
Rolling Out Your Flatbread
This is where you give your roti its shape. You want them thin and even, which helps them cook properly and puff up nicely. Don’t go too thick, or they’ll be doughy in the middle. Too thin, and they might get crispy too fast.
- Start with a smooth, round ball of dough. Give it a little flatten between your palms.
- Dust it lightly with flour on both sides. Don’t go crazy with the flour, just enough so it doesn’t stick.
- Use a rolling pin on a clean, lightly floured surface. Roll it out into a circle, about 6 to 7 inches across. Try to keep the thickness pretty consistent all the way around. It takes a bit of practice to get them perfectly round, but don’t stress too much about it. Even if they’re a little wonky, they’ll still taste great.
- Gently shake off any extra flour before it hits the pan.
Tips For A Perfect Puff
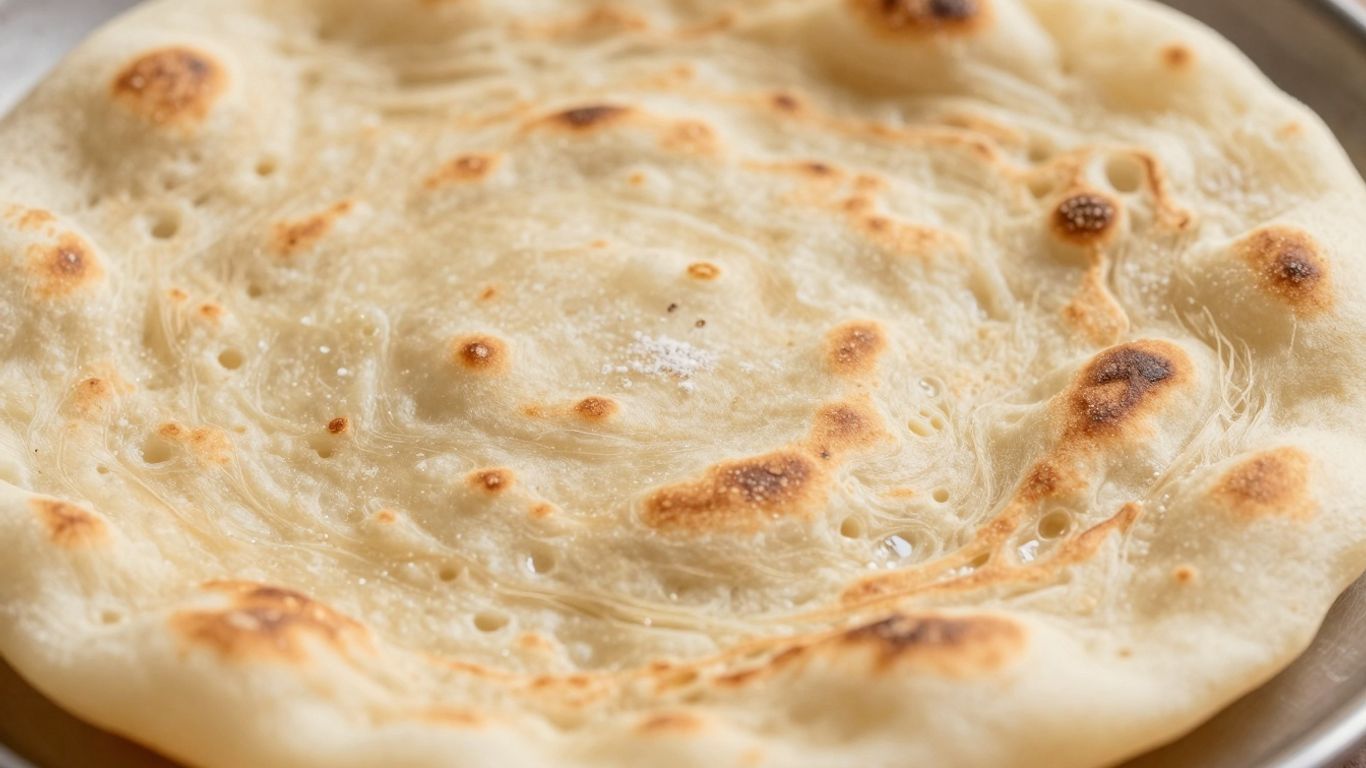
Getting that beautiful puff is like the roti’s way of saying ‘ta-da!’. It means steam is trapped inside, making it light and airy. Here’s how to encourage it:
- Get Your Pan Hot: Your cooking surface, whether it’s a tawa or a flat pan, needs to be nice and hot. Medium-high heat is usually the sweet spot. If it’s not hot enough, the roti won’t get that burst of steam it needs. Too hot, and it’ll burn before it can puff.
- Cook in Stages: Lay your rolled-out roti on the hot pan. You’ll see tiny bubbles start to form on the surface after about 10-20 seconds. That’s your cue to flip it.
- The Second Flip: Cook the second side for a bit longer, maybe 30 seconds, until you see small brown spots appearing. Now, flip it back over.
- Encourage the Puff: This is where the magic happens. If you have a gas stove, you can carefully move the roti directly over the flame using tongs. It should start to puff up like a balloon. Keep turning it gently so it puffs evenly. If you don’t have a gas stove, don’t worry! You can still get a good puff by flipping it a couple more times on the pan and gently pressing the edges with a clean kitchen towel or spatula. This helps trap the steam inside.
Don’t get discouraged if your first few rotis don’t puff up perfectly. It’s a skill that gets better with practice. Pay attention to how the dough feels, how hot the pan is, and how long you’re cooking each side. You’ll figure out what works best for your kitchen.
Once they’re puffed and have a few nice brown spots, take them off the heat. Stack them up and keep them covered with a clean kitchen towel or in a container to keep them soft and warm until you’re ready to eat.
Enjoy Your Homemade Roti!
So there you have it – a simple way to make soft, fluffy roti right in your own kitchen. It might take a little practice to get them to puff up perfectly every time, but honestly, even if they don’t, they’ll still taste amazing. Don’t be afraid to experiment a bit, and remember that the dough needs to be just right – not too stiff, not too sticky. Once you get the hang of it, you’ll be whipping these up for any meal, scooping up your favorite curries or just enjoying them warm with a little ghee. Happy cooking!
Frequently Asked Questions
Why aren’t my rotis puffing up like in the pictures?
Don’t worry if your rotis don’t puff up perfectly at first! It takes a little practice. Make sure your dough is soft and not too stiff, and that you’re rolling it out evenly. Cooking it on a hot pan and then briefly over an open flame (if you have a gas stove) helps a lot. Sometimes, gently pressing with a spatula on the pan can encourage them to puff.
Can I make the roti dough ahead of time?
Yes, you can! You can prepare the dough a day before and keep it in the fridge, covered tightly. You can also make the dough balls and store them in the fridge for up to 4 days, just make sure they’re covered with a damp cloth and in an airtight container.
My rotis are turning out hard. What am I doing wrong?
Hard rotis often happen if you use too much flour when kneading or rolling, or if you overcook them. Try to use just enough flour to keep the dough from sticking. Roll them out to an even thickness and don’t cook them for too long. The dough itself should also be soft and easy to work with, not stiff.